This is a guest post by Syed Faizan Ali
Windows Live Writer is a versatile tool that allows you to publish posts to your WordPress blog directly from your desktop. This means that you do not need to log in to the WordPress admin panel to update your blog. In this tutorial, I'll show you how to enable desktop publishing for your WordPress blog with Windows Live Writer.
Step 1: To publish your posts to a WordPress blog through Windows Live Writer, you must enable the Atom Publishing Protocol and XML-RPC publishing interfaces.

Step 2: Now download Windows Live Writer from Microsoft Corporation and install it. This may take a few minutes depending on your internet connection.
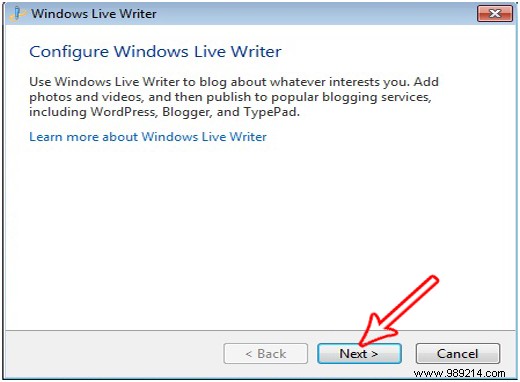
Step 3: To get started, open Windows Live Writer and you should be able to see a notification. You can avoid the warning and go to the next step by pressing the "next" button.
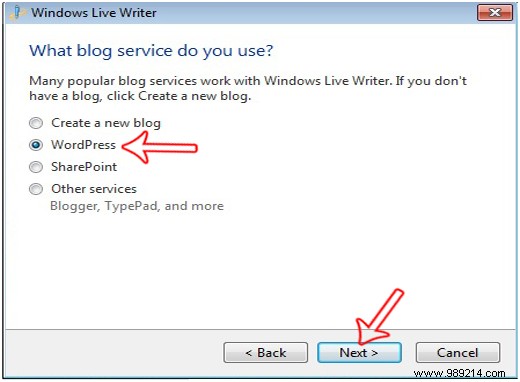
Stage 4: Now you have to select your blogging platform, which should be WordPress. You can even host multiple blogs on Windows Live Writer once you've completed setup.
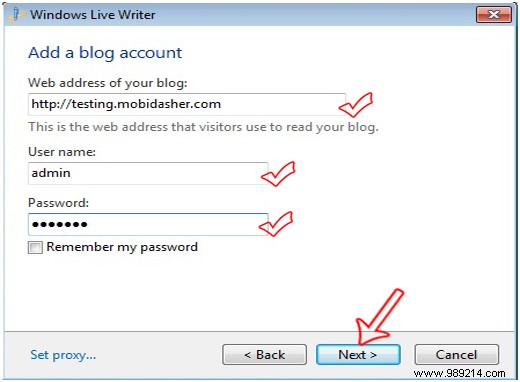
Step 5: Now insert the URL of your WordPress blog along with the admin username and password. This will verify if you are the owner or not. After pressing the following button, WLW will try to connect with your blog.
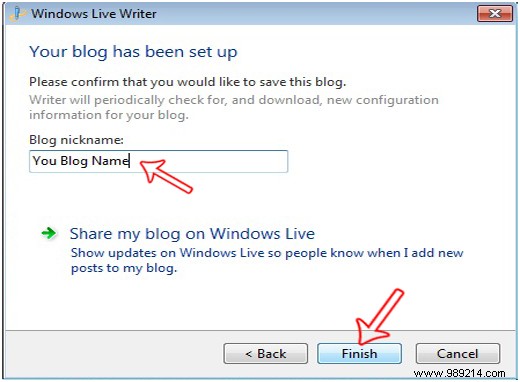
Step 6: Write the name of your blog. It will not change or rename your blog title. This will only act as your blog's nickname for Windows Live Writer.
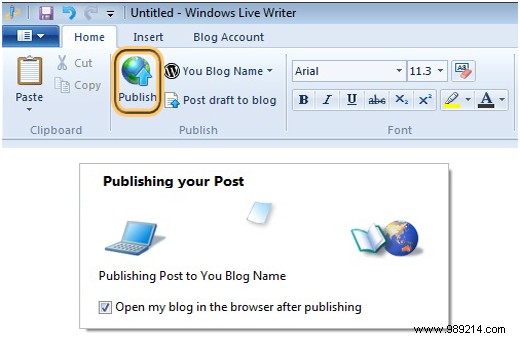
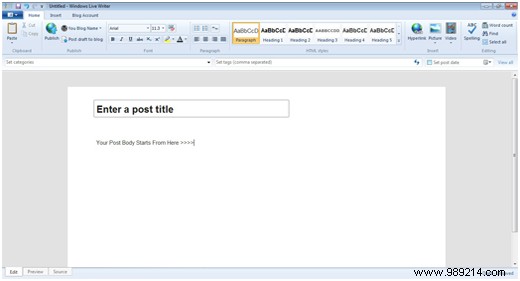
Step 7: Now you can directly publish your posts from your desktop without even opening your browser.
These are some of the most common issues WordPress bloggers encounter when using Windows Live Writer when trying to upload images, compose new posts, publish posts, or simply edit an existing post.
Solution: To solve this problem, you need to reduce the file size of your images. You might consider using image extensions that offer sufficient photo quality but take up less disk space. You can also upload images directly with your WordPress file uploader and then simply link those images in Live Writer.
Solution: Most of the time, WLW (Windows Live Writer) checks for software updates, so it freezes and consumes a lot of your CPU memory. To resolve this issue:
Solution: Add the following codes in the .htaccess file of your WordPress Blog directory:
SecFilterHherencia desactivada
Solution: You need to make sure that the following code snippet is present in your WordPress theme (you can find this code between the tags)
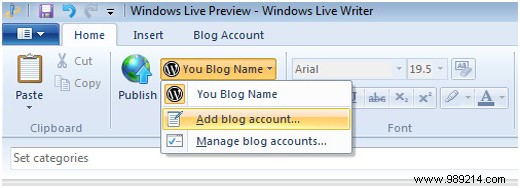
How do I add a new blog to Windows Live Writer??
Reply: At the top of the WLW toolbar you will see your previously configured blog username. Pressing it will open a new drop-down menu. Simply select "Add a blog account" and follow the same instructions as above.
How do I schedule a post in Windows Live Writer??
Reply: On the right side of your screen in WLW you will see a bar indicating the date. Just click on it and select the exact time before saving your post.

How to publish posts with Windows Live Writer:
Reply: Publishing new posts with WLW is extremely easy. At the top of the toolbar, you will see a "publish" button. After pressing it, you will be asked to provide the administrator login details. Within seconds your posts will be published..