Do you want to create a WordPress membership site? Due to its flexibility and ease of use, WordPress has become the best option for creating a membership website. In this step-by-step guide, we'll show you how to create a WordPress membership site like a pro (without coding knowledge).
Unlike 10 years ago, it is quite easy to make a website these days. Of all the platforms and website builders, WordPress makes it the easiest for anyone to create their own membership website and start selling with little to no technical skills.
You will need the following three things to get started:
You can set up a fully functional membership website with WordPress in less than 30 minutes, and we'll guide you through every step of the process.
In this tutorial you will learn:
Clever? Let us begin.
First, you need to make sure you are using the correct WordPress platform. Yes, there are two types of WordPress. We recommend using the self-hosted version of WordPress.org because it gives you unrestricted access to all the features and tools you need (see the full comparison of WordPress.com vs. WordPress.org).
For a self-hosted WordPress site, you will need a WordPress hosting account, a domain name, and an SSL certificate.
Usually a domain name costs around $14.99/year, web hosting around $7.99/month, and SSL certificate costs around $69.99/year.
If you're just starting out, these startup costs can add up quickly.
Fortunately, we have a way to fix that.
Bluehost, an official WordPress recommended hosting provider, has agreed to offer our users a free domain name, a free SSL certificate, and a discount on web hosting.
Basically, you can get all of the above for $2.75 per month.
→ Click here to claim this exclusive offer from Bluehost ←
Note:At WPBeginner we believe in full transparency. If you sign up with Bluehost using our referral link, then we'll earn a small commission at no additional cost to you (in fact, you'll save money and get a free domain + SSL certificate). We would get this commission for recommending almost any WordPress hosting service, but we only recommend products that we personally use and believe will add value to our readers.
Once you have signed up for hosting, the next step is to install WordPress. Follow the instructions in our step-by-step guide on how to start a WordPress blog, and you'll be up and running in no time.
Now that you have WordPress installed, you can proceed with setting up your WordPress membership site.
The best part about WordPress is that there are many great plugins available that you can use to create your WordPress membership website. However, each of them has its pros and cons. We have a full comparison of the best WordPress membership plugins.
To choose the right WordPress membership plugin, you first need to decide what kind of membership website you want to create and what features you'll need.?
If you only want to allow user registration on your WordPress site, then you can use WPForms. It is a WordPress form builder plugin that allows you to easily create user login and registration forms. You can even allow users to submit articles without accessing the WordPress admin area.
On the other hand, if you want to sell subscriptions, paid content, or digital downloads, you'll need a more robust WordPress membership plugin, like MemberPress.
MemberPress includes advanced membership features that allow you to accept payments, create membership levels, restrict access based on levels, and more.
The sale of online courses may be another possible scenario. In this case, you'll need LearnDash, a full-featured WordPress LMS plugin for learning management.
You can also integrate LearnDash with MemberPress to create a powerful website with online courses and membership subscriptions.
With that said, let's start setting up the WordPress membership website.
We're choosing MemberPress as our go-to plugin because it has all the features we mentioned above and works seamlessly with any third-party plugins needed to grow your business.
The first thing you need to do is install and activate the MemberPress plugin. For more details, check out our step-by-step guide on how to install a WordPress plugin.
Upon activation, you need to visit the MemberPress "Options page to configure plugin settings.
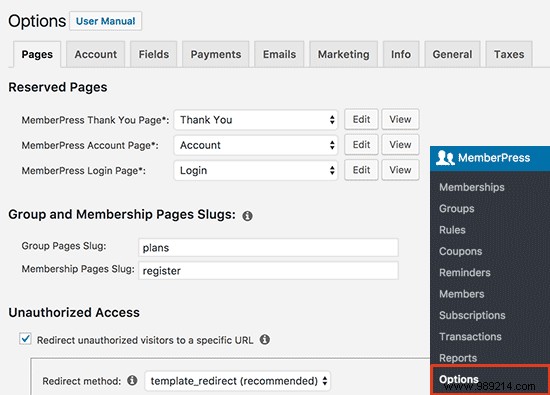
The options page is divided into different tabs. The first thing you need to set up is a payment gateway because it allows you to accept payments on your membership site.
You can do this by switching to the 'Payments' tab and then selecting your payment gateway.
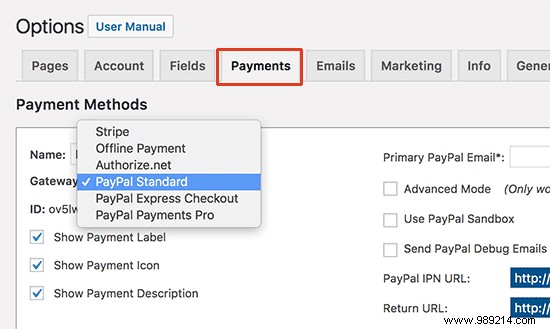
MemberPress supports PayPal (Standard, Express, and Pro), Stripe, and Authorize.net right out of the box. You must select the payment method you want to set up and provide the necessary credentials.
You can also add multiple payment methods by clicking the Add button to add another payment method. We generally use two options:Stripe for credit cards and PayPal as a secondary option because some users prefer PayPal instead of giving credit card details.
Don't forget to click the "Update Options" button at the bottom of the page to save your settings.
The next step is to create membership levels that your users can purchase. Each membership level may have different pricing plans, benefits, and access. You can even have a free membership plan.
To create a membership level, you must go to MemberPress "Memberships page and click the 'Add New' button at the top.

On the next page, enter a title for this particular membership plan and then provide the plan details in the post editor.
You will need to set the price and expiration of this plan in the membership terms section.
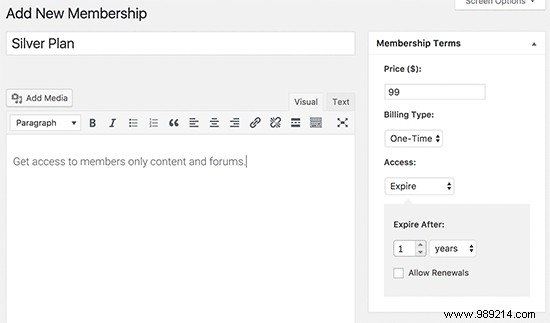
In the example above, we have created an annual membership plan.
After that, you need to scroll down to the membership options meta box below the post editor. This is where you can customize the permissions and membership options for this particular plan.
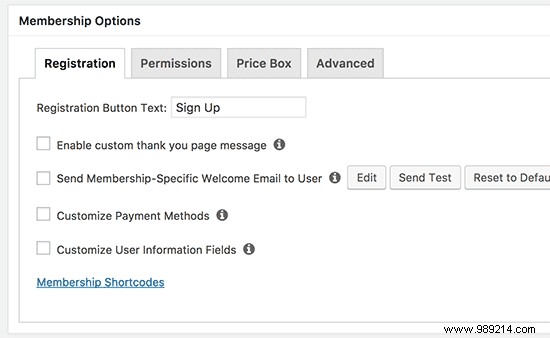
Once you are satisfied with the membership plan, you can click the publish button to make it available.
Go ahead and repeat this process to create as many membership plans as you need.
The next step is to select what content will be available for different membership plans on your website. MemberPress makes it very easy to control access using 'Rules'.
You can set up rules by visiting the MemberPress »Rules page and clicking the Add New button at the top.
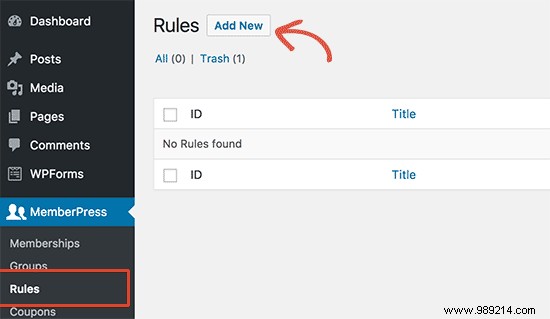
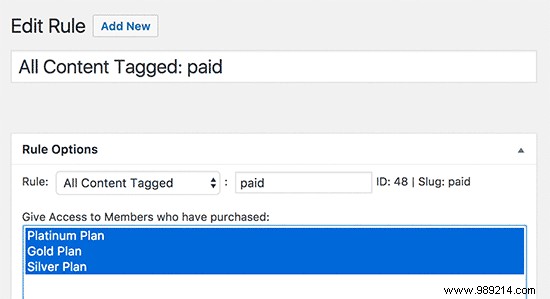
The rule editing page allows you to select different conditions and associate them with a membership plan.
For example, you can select all content that matches a particular tag or category to be available only to members on the Silver subscription plan.
You can also create more specific rules. For example, a single post or page, child pages, or a specific URL.
Below the rules editor, you will see options for content drip and expiration.
Drip content allows you to gradually release content to users instead of dropping it all at once. The expiration option makes the content unavailable after a defined period of time.
If you are not sure, you should leave them unchecked.
Once you're satisfied, go ahead and click the "Save Rule" button to save your rule settings.
Repeat the process to create more rules as needed for your membership site.
MemberPress makes it super easy to create member-only content using Rules.
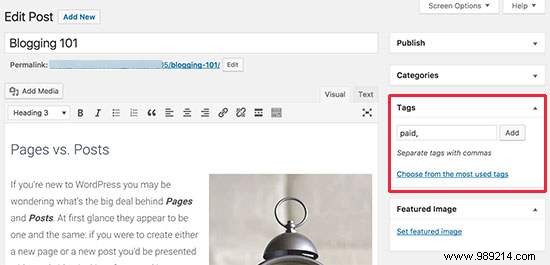
In the example above, we created a rule that restricted all content labeled as paid to be restricted. Now all we have to do is create our payment content and add the payment tag to it.
MemberPress also adds the 'MemberPress Unauthorized Access' metabox below the post editor. This allows you to select what offline users (non-members) will see when they reach this content.
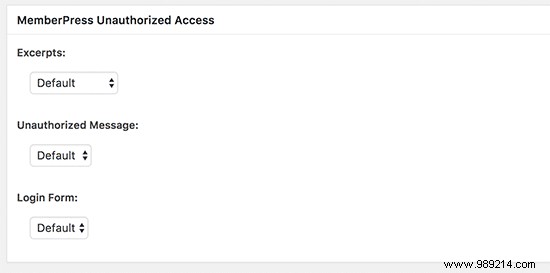
You can use the global default settings, or you can display excerpts, a login form, or a custom message.
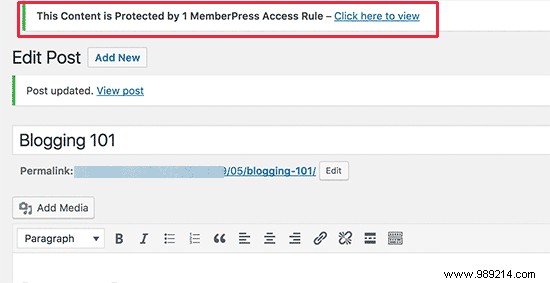
Once you've added members-only content, you can go ahead and post it. As the page reloads, you'll see a success message indicating that this content is protected.
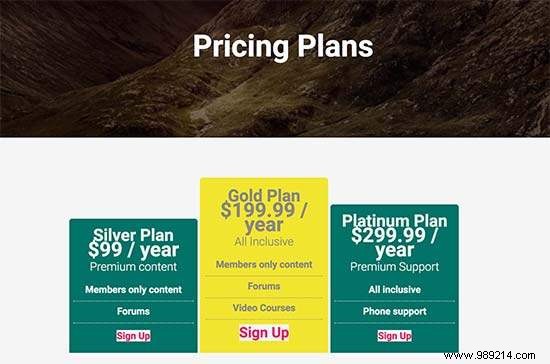
This is the page your users will see when they want to sign up for a membership plan. On this page, users will be able to select a membership plan and then proceed to the payment page.
Users attempting to access the restricted or paid areas of your website will also be redirected to this page.
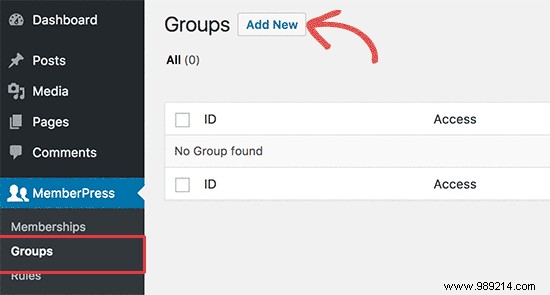
You can set it up by going to MemberPress »Groups page and clicking the Add New button at the top.
First, enter a title for the group plan page. This will also be the title of the plans page that users will see.
Next, go to the 'Group Options' metabox and add the memberships you want to display on the page.
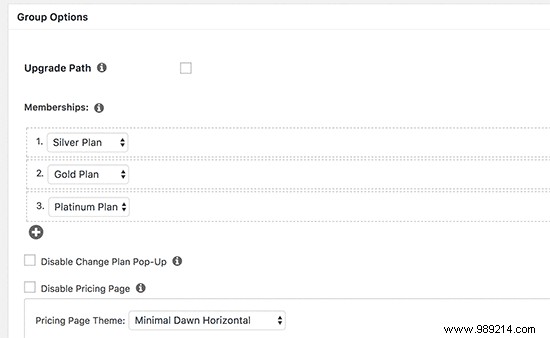
You can also select a theme for the pricing table. MemberPress comes with some templates ready for that.
Once you're satisfied, click the 'Publish' button to make your plan publicly viewable.
To preview your pricing page, click the 'View Group' link after posting.
Now that we have the pricing page ready, the next step is to redirect unauthorized users to the pricing page.
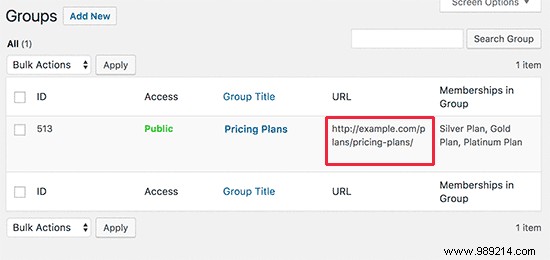
To do this, you first have to visit MemberPress »Groups page and copy the URL next to the group you created in the previous step.
After that, go to the MemberPress Options page and scroll down to the 'Unauthorized Access' section.
You need to check the box next to the 'Redirect unauthorized visitors to a specific URL' option and then paste the group URL you copied earlier.
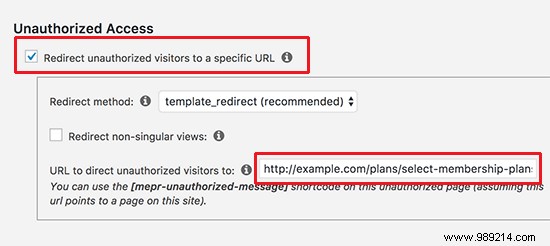
Click the 'Update Options' button to save your settings.
Unauthorized users will now be redirected to the pricing plans page when attempting to access a members-only area.
Now that you have everything set up, it's time for your users to be able to easily find your website.
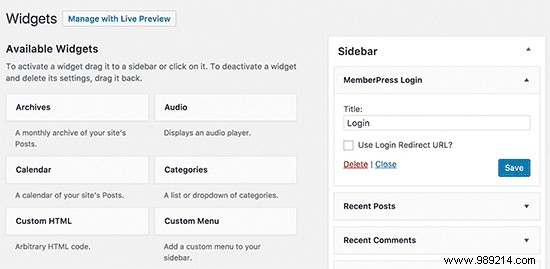
First, you need to add a user login form so that members can log in to their accounts.
Go to Appearance »Widgets and add the 'MemberPress Login' widget to a sidebar.
Next, we'll add the pricing page link to the navigation menu, so new users can select a plan and sign up.
You can do this by visiting the Appearance »Menus Page in your WordPress admin. From the left column, you need to click on the Groups tab to expand it. It will display the pricing plan group you created earlier.
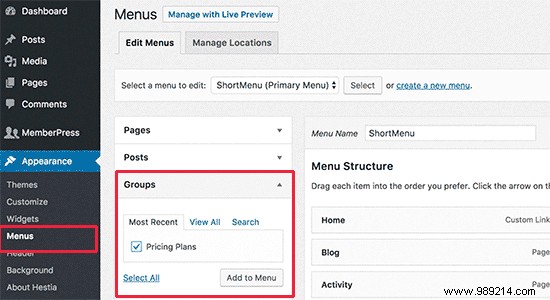
Check the box next to your pricing page and then click the 'Add to Menu' button.
The pricing plan page will now appear in the right column. You can drag and drop to rearrange its position in the menu. You can also edit it and change the link text.
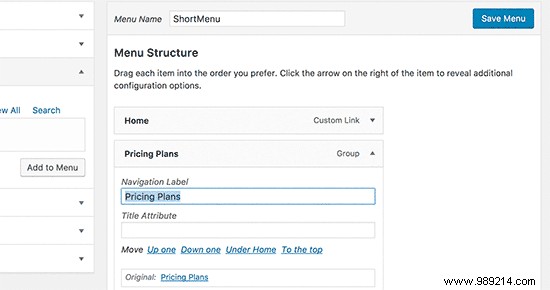
Don't forget to click the save menu button to store your changes.
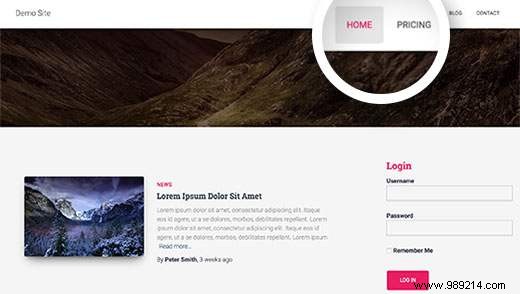
You can now log out of your WordPress admin area and visit your website to see everything in action.
MemberPress is a powerful WordPress membership plugin. It allows you to easily grow your membership website.
It works seamlessly with LearnDash, which allows you to easily create courses and leave the selling to MemberPress. You can also use it together with BuddyPress and bbPress.
Here are some other helpful resources to help you grow your WordPress membership site.
That's it, we hope this article helped you set up your WordPress membership website. You may also want to see our step-by-step guide to WordPress SEO for beginners.
If you enjoyed this article, please subscribe to our WordPress YouTube Channel video tutorials. You can also find us on Twitter and Facebook.