There is a very popular saying in photography, "It's not the camera, but who's behind the camera that counts". This is not limited to DSLRs, but also extends to mobile photography. The only difference between an average photo and a good photo is the photographer. So today, I am going to share some tricks that we often miss while taking photos on our Android devices.
Contents1. This dirty camera lens needs to be cleaned2. Why aren't you using Quick Launch? 3. Yes, these camera settings look complicated but they are awesome. Too obsessed with filters? Not a good idea when taking pictures5. Instead of zooming, crop6. Try not to ignore the rule of thirds7. Do you take selfies stupidly?8. Are monopods and tripods covered9. Don't ignore the HDR10 mode. Flash messes up your photos (most of the time)Click-worthy enough?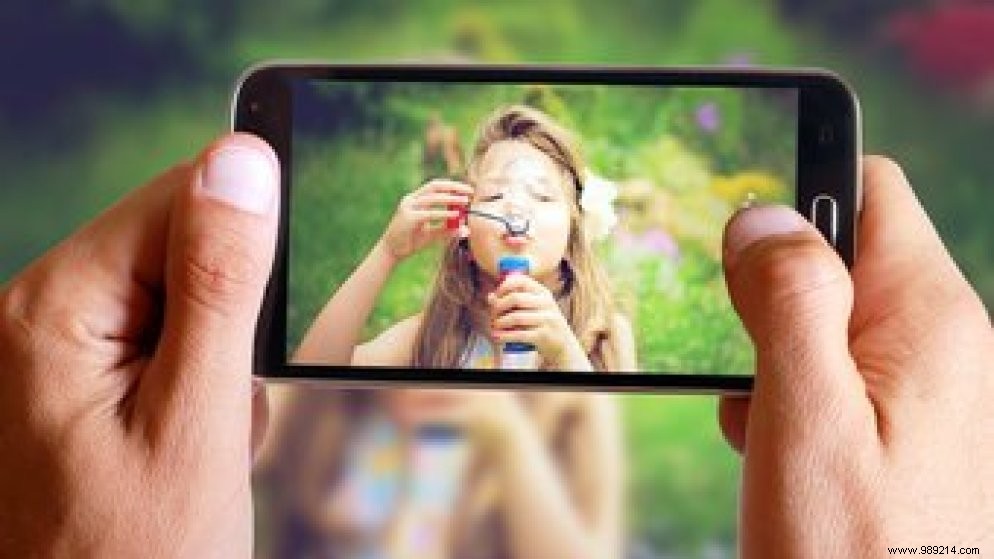
So here is a list of things you miss on Android that can really make a difference in photo quality.
I'm sure you'll agree that the majority of us are used to holding the phone with the screen facing up; whether in the office, at home or in a cafe. That means it's the back of your phone with the camera resting on the surface. These surfaces are usually not very clean and in addition to the fact that most phones have a camera bump, which can increase the possibility of dirt clinging to the lens surface. Even pockets and purses are no different and here too you can be sure the lens will catch some dirt.
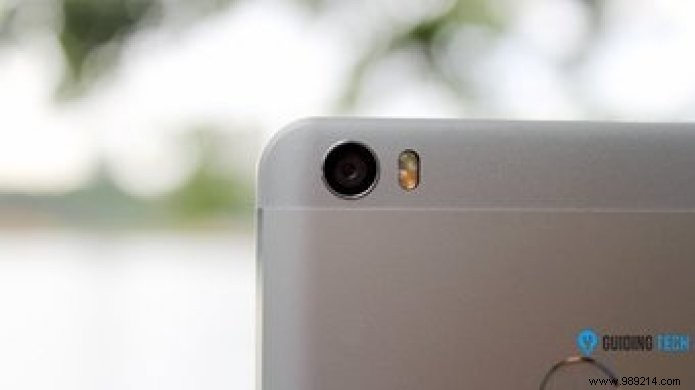
Although we occasionally clean the front glass, we never bother to clean the camera lens and that is what can cause blurry photos and dark images. So above all, be sure to inculcate the habit of frequently cleaning the camera lens.
Sometimes a photo is all about timing and even a one second delay can mean you've lost the moment forever. Traditionally on a phone, there is a Power button -> Lock screen you'll need to go through before launching the camera app; it will again take its own time to initialize. However, many phones like Motorola and Samsung have the feature to quickly launch the camera using a few hand gestures. Moreover, you also have a camera shortcut on your lock screen which can also save your time when you need to take photos in seconds.
However, if your manufacturer didn't include the feature, don't worry. Guiding Tech has a plan for you. The law of "there's an app for that" saves you on this one and you need to take a look at the 3 cool ways we've talked about in the past using which you can quickly launch the app from the app. camera that even includes the hand gesture.
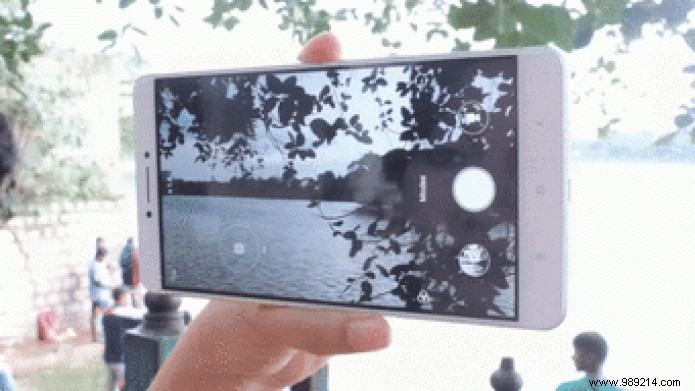
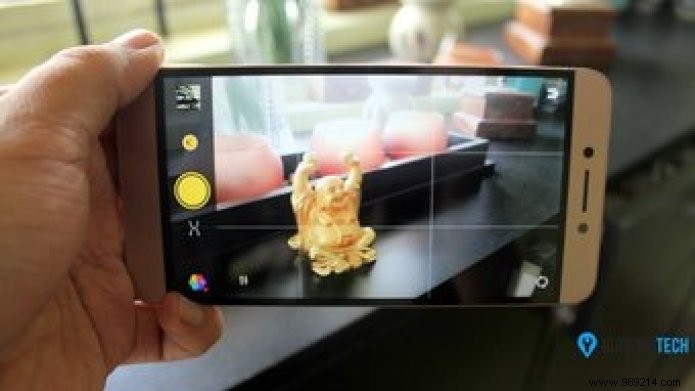
While some take the time to explore the camera settings to get to know the camera better, most users never bother to explore them. They can see the subject after throwing the camera and all they need is the shutter button to capture the moment. However, if you go through your camera settings, you will know how useful it can sometimes be.
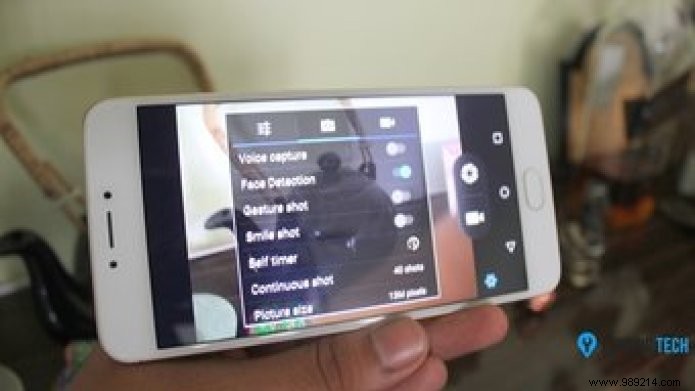
There are so many features, shooting modes and settings that can help you a lot when taking selfies. For example, a few phones have auto HDR mode, some have a plethora of shooting modes and gesture support for selfies. So be sure to spend some time with your Android camera settings and get to know it better.
No one will tell you, but using filters to take photos is never a good idea. If you think about it, it's just software processing and it's something you can do even after taking the picture using many free apps available on play store. So now let's get to what's wrong with using them. Well, first of all, it takes time for the camera to process these photos, especially in low light conditions, which often results in blur.

Also, why lock yourself to just one, when you can get a plethora of effects later. You can always use apps like PicsArt to apply different filters to your photos before sharing them on social media.
Unless and until you have a phone like Asus Zenfone Zoom that has optical zoom, don't bother using zoom on your phone. When you use the digital zoom on your camera, all you do is crop the view and stretch it to fit the viewfinder. That's why you won't get that sharpness in digitally zoomed photos.
Instead, you can use the phone's internal editor or even a computer to crop the photos to your liking and then upload them. The advantage is that you will have the full image which can be cropped and shared. You will also know how much you lose in quality and there is a chance to go back.
The rule of thirds is a rule you should always follow. It basically involves dividing your screen into 9 equal grids and placing the object at the intersection of two lines, sometimes called power point or crash point to compose a nice photo.
While most stock cameras have the option to enable grid lines in the settings, some don't have this feature. However, you can use third-party camera apps like 360 Camera to get grid lines on your Android camera.
Selfie lovers… this one is for you. Don't bother using the on-screen shutter to take selfies. It's not practical at all. Instead, you have to use the volume rocker buttons to take photos while looking at the front camera. If your phone has a rear fingerprint sensor, you can also see the settings if you tap on it to take photos.
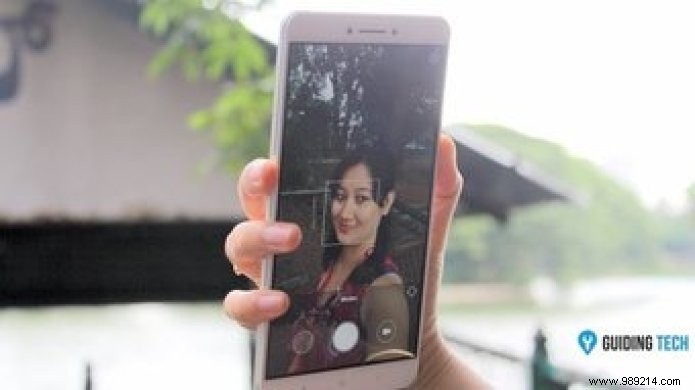
If your hand is stretched all the way out and none of these options seem feasible, just plug your headphones into the audio jack, then use the volume button on the headphones to take the shots.
Phones these days have optical image stabilization features, but only on pen and paper. In real life, they still don't give you the photos you're looking for. I've seen people complain about blurry shots, especially in low light. The only things that can help you here are monopods and tripods. These pods cost a lot less these days, especially those designed for smartphone cameras. You can buy one for as little as $2 and get steady shots without much effort.
After taking pictures in bright light if your object or background is still black in point and shoot, it may mean that you haven't explored the concept of HDR mode yet. HDR mode is suitable for conditions where you need to shoot at different exposure levels to capture everything in the scene. We have already made a video on HDR mode which you can check out.
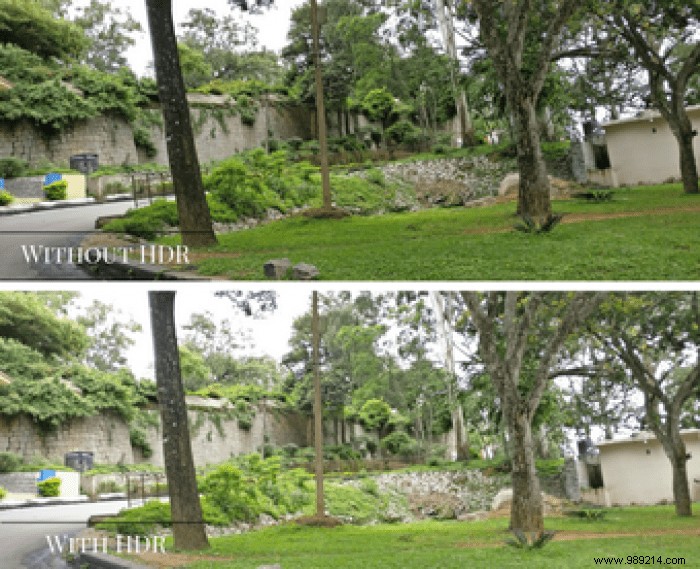
If your camera doesn't have HDR mode, it's best to install third-party camera apps that bring the feature to your phone. Some cameras have Auto HDR mode which is a good thing and should be enabled if you don't want to miss precious moments.
Last but not least. Stop using the flash when taking pictures. Even though the technology behind these flashes has come a long way and you now have dual-tone LED flashes for a natural color temperature, they don't work most of the time. From what I believe, you can use low light photo mode in your camera and get better photos than photos that have uneven light.

It is better to be satisfied with a photo in low light than with a photo with a bad flash, especially counting the red eyes that come with these photos.
Flash User Guide: It's tricky to use the flash on a smartphone, but our guide on when to use it and when not to use it should be the most helpful.So these are some things you should think about the next time you take photos with your Android. I'm sure these tips will help you click great photos next time. Also, don't forget to reach out to us via the comments if you have any additional tips to share with our readers.
READ ALSO: Top 5 tips for using Prisma like a pro on Android