PicsArt is a powerful photo editor available for Android, iOS and Windows PC. One would think that since it is also available as a mobile app, it would only allow you to add effects and stickers. But this is not the case. You can perform many amazing editing techniques using this application.
Contents1. Add multiple effects2. Display original image3. Modify the intensity of the effect4. Apply the effect to part of the image only5. Blur the background6. Add colorful border effect7. Edit Stickers8. Create stickers based on shapes9. Changing the background of an image10. Add white border to photosHere are some beautiful photos
In this article, we decided to explore these cool PicsArt techniques. Let's see what tricks this tool has up its sleeves.
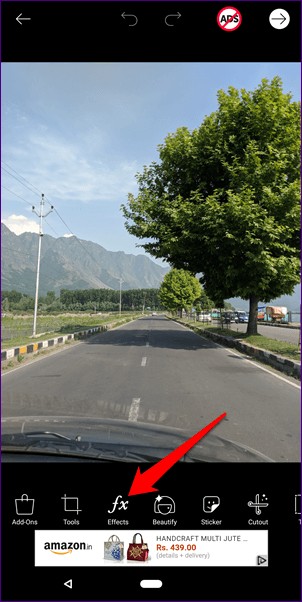
PicsArt comes with a bunch of cool effects. You can change the whole look of your image by adding an effect. To further enhance your images, you can even apply multiple filters.
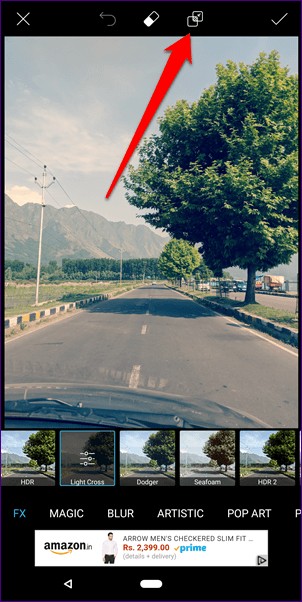
To do this, open the image in PicsArt, press the Effects option and apply the first filter of your choice. Then tap on the two small square-shaped icons in the top bar. This will apply the current filter. Then, again, apply another filter. Once you're happy with your image, tap the check mark icon in the top right corner.
 Pro tip: At any time, if you want to go back to the previous filter, tap the undo button at the top.
 When editing, you may want to compare the edited image with the original. You don't need to open it in the gallery. Just hold (long press) the image and you will see the original image.
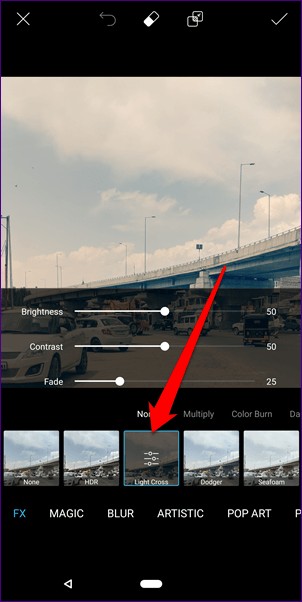
Besides adding multiple effects, you can also change the intensity of each individual effect. Whether you want to increase or decrease its intensity, the app offers both.
To do this, once you have applied the effect, tap on the effect option again. You will have the possibility to modify the intensity.
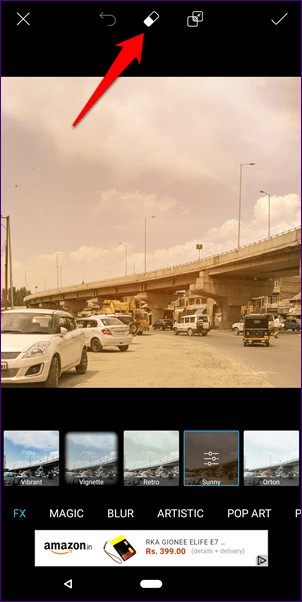
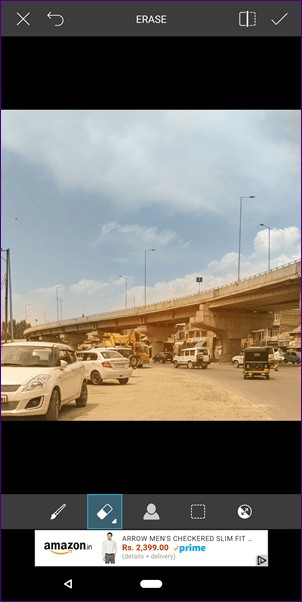
Moreover, PicsArt also allows you to apply an effect to part of the image. This creates a double effect look. Tap the eraser icon at the top after applying the filter. Using the eraser, erase the effect from the areas where you don't want to apply the effect. Pretty cool of you asking me.
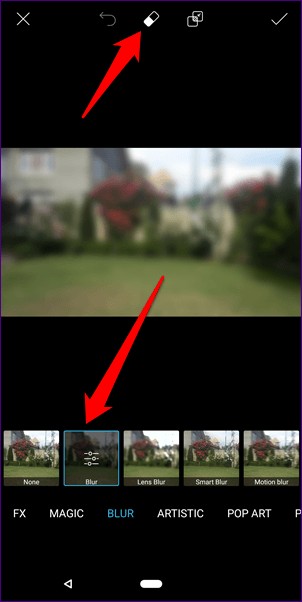
While many apps allow you to blur the background of your images, PicsArt offers additional options. You can use normal blur, smart blur, motion blur, radial blur, etc. It also comes with an auto portrait mode which will apply the blur effect to your portrait images.
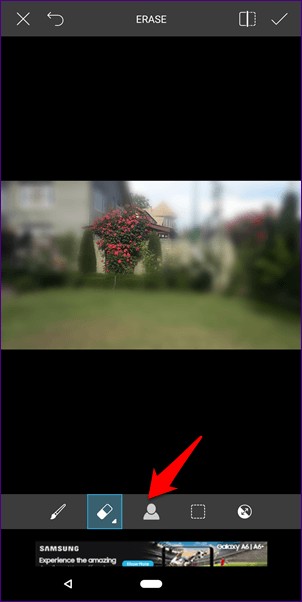
To apply a blur to part of an image, tap on the Effects option and go to Blur mode. Select Blur. The blur effect will be applied to the entire image. Now, to remove blur from unnecessary areas, tap the eraser icon at the top and start erasing blur from areas where it is not needed. Tap the Portrait icon to apply blur to your portraits.
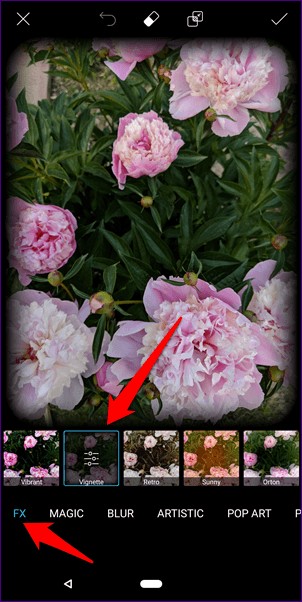
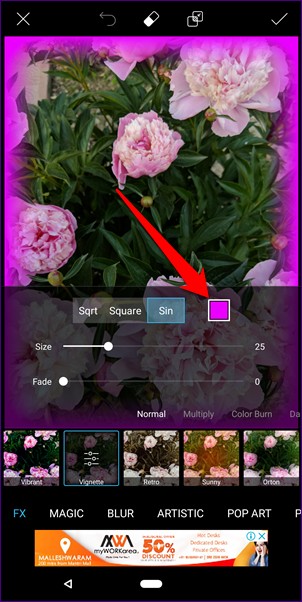
With a little play, you can add a nice colorful effect to the border of an image. Open the image in PicsArt and tap on the Effects option. Next, under FX, tap Vignette. Tap Vignette again to open vignette effect options.
Then tap the color box to choose the border color. You can also increase or decrease the border size.
PicsArt offers many stickers to put on photos. However, each person has a different taste and the colors or effects of the stickers may not be to everyone's liking.
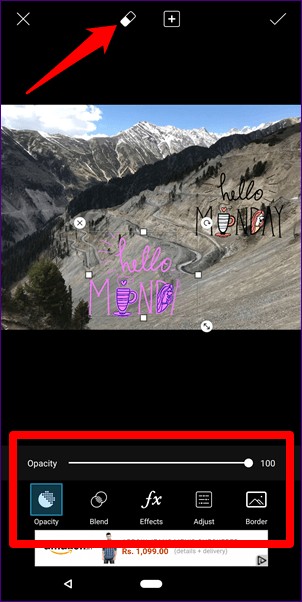
To avoid this situation, PicsArt also lets you edit stickers. To do this, just add a sticker to your photo and you will get several options to edit it. You can even delete part of the sticker by tapping the eraser icon at the top.
With the help of PicsArt cutout feature, you can create stickers of any object or portrait. But what if you want to make a heart-shaped sticker or a square-shaped sticker? You can do that too.
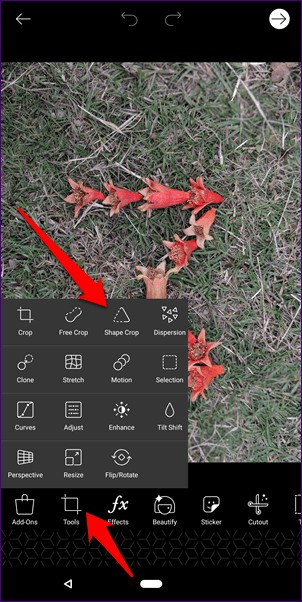
Open the image and tap on the Tools option. Then tap Shape Crop.
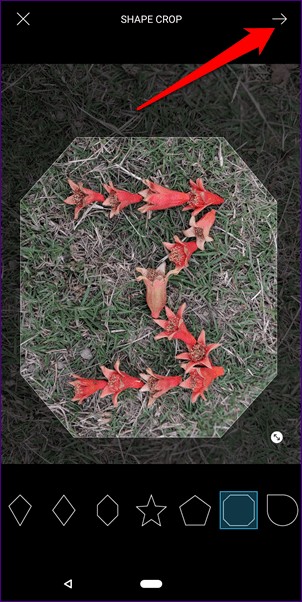
Select the shape you want and tap the following icon in the upper right corner. You can then modify the border of the sticker by changing its width and applying different colors. Once you're happy with your sticker, hit the save button.

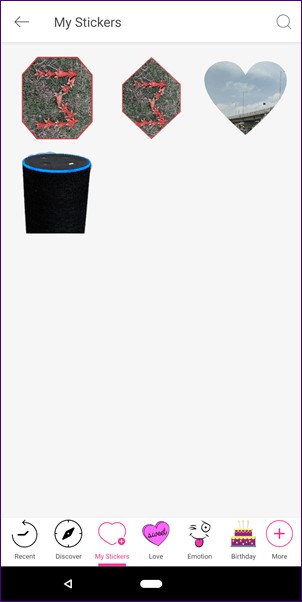
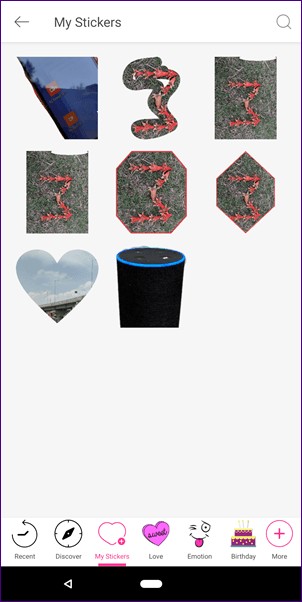
The sticker will be saved under Sticker – My Sticker. You can then add it to any image by pressing the Sticker button.
Sometimes the background of an image is not according to our choice. We wonder if we could change it. Thanks to PicsArt, you can easily do this.
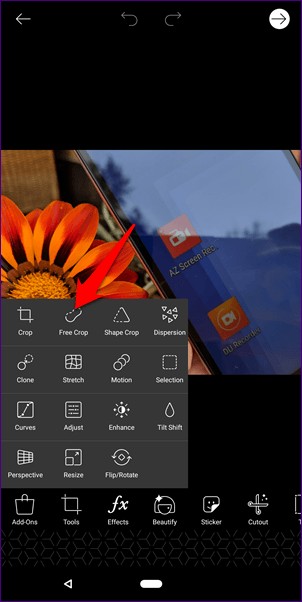
To change the background, you must first extract the part of the image whose background you want to change. To get it, use the Free Crop option in the Tools section. The extracted image will be saved in the My Stickers section.
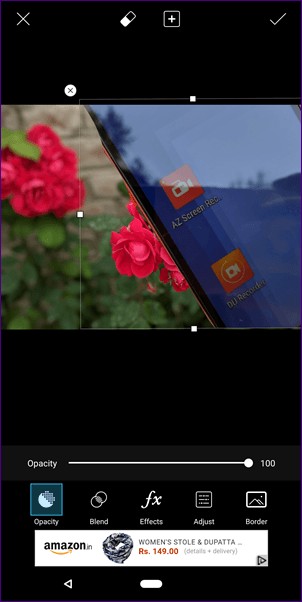
Then go back and open the background you want to use for this image. After that tap on Sticker option followed by My Stickers. Select the sticker you created above. Using blending modes and other editing options, place the image on the new background.
You may have seen different Instagram profiles from others. These profiles actually add a white border to the images, giving their profile a clean look.
With the help of PicsArt, you can even add white borders to your Instagram photos. And not just the white border, but a border of any color.
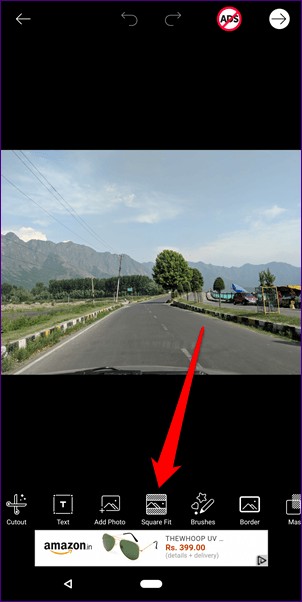
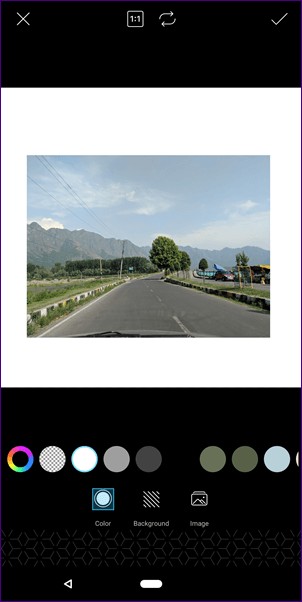
Open the image in PicsArt, then hit the Square Fit option. Then pinch in and out of the photo to increase or decrease the border. When done, press the Save button.
 Pro Tip: You can also add a proper white border using the Border option.
 These are some of the PicsArt photo editing tips and tricks that you can use to improve your photos. If for some reason you are not satisfied with PicsArt, here are some alternatives on Windows PC and Android.