If you're running Windows 10 October 2018 Update (version 1809) or higher, chances are you've come across Microsoft's new snipping tool. It's called Snip &Sketch and is designed to replace two screen capture tools:Snipping Tool and Screen Sketch.
Contents1. Launch the application in different waysAssign to PrtScn2 key. Use screenshot modes 3. Navigate between screen capture modes4. Delay screenshot5. Change pen size and color6. Erase all marks 7. Show skipped screenshot8. Activate assistive touch9. Rotate ruler and protractor10. Hide ruler and protractor11. Cancel screenshot action12. Modify the old image13. Open in Another AppBonus Tip:Use ShortcutsImage ShortcutsEdit ShortcutsAnnotation ShortcutsOther ShortcutsSnap, Sketch and More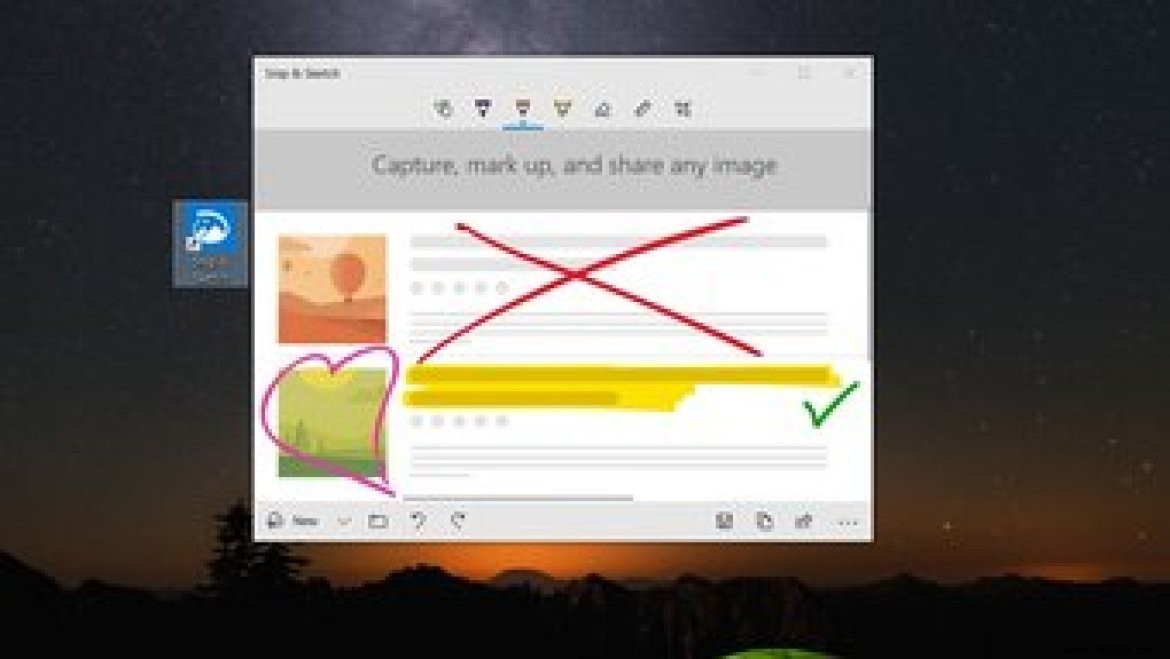
It has already replaced Screen Sketch. But, Snipping Tool has been alive for quite some time before Microsoft also decided to cut its cord.
So if you are using the Snipping tool, it is better to switch to Snip &Sketch. The app combines snipping tool and screen sketch into one. It offers several great features for taking and marking screenshots.
Whether you are a beginner or have recently moved to Snip &Sketch, here you will find 13 useful tips, tricks and hidden features to use it like a pro.
Typically, you search for the Snip &Sketch app and launch it to take a screenshot. The method is a bit long for anyone who regularly takes screenshots.
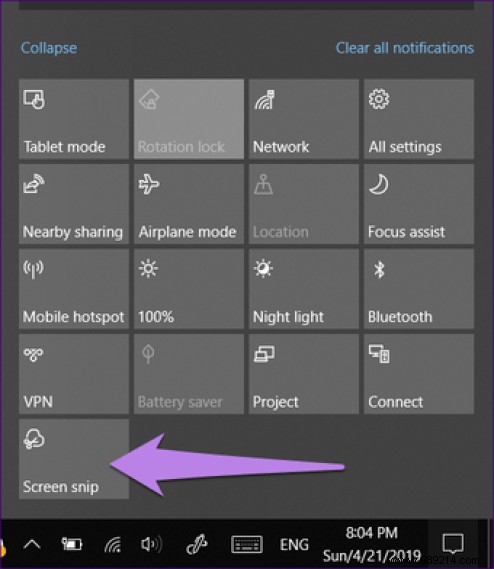
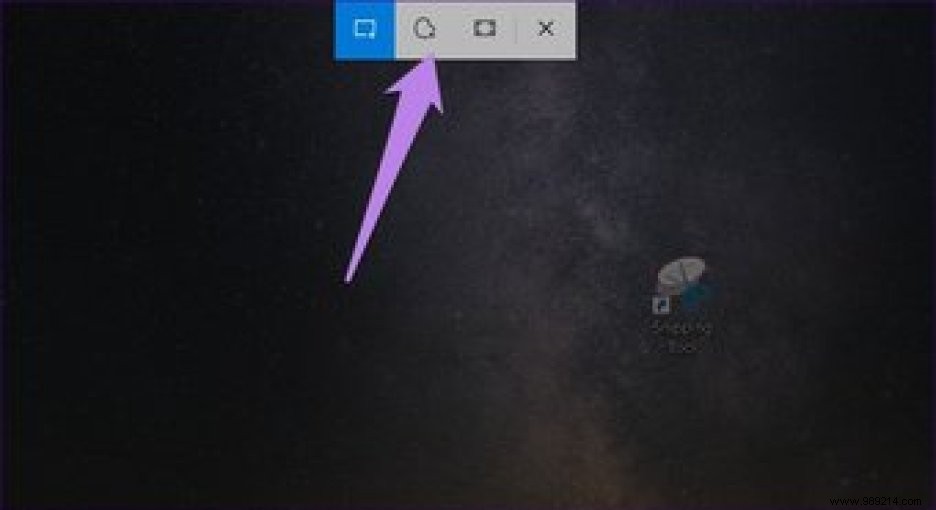
Fortunately, Microsoft offers alternative and quick ways to launch the application. First, you'll find its button in the Action Center. Click on it whenever you need to take a screenshot. Another method is to use the shortcut WinKey + Shift + S to activate the screenshot tool.
The oldest way to capture a screenshot is to use the PrtScn key. Guess what? You can also launch the Snip &Sketch tool from the PrtScn key. To do this, you must first assign the application to the key.
To do this, follow these steps:
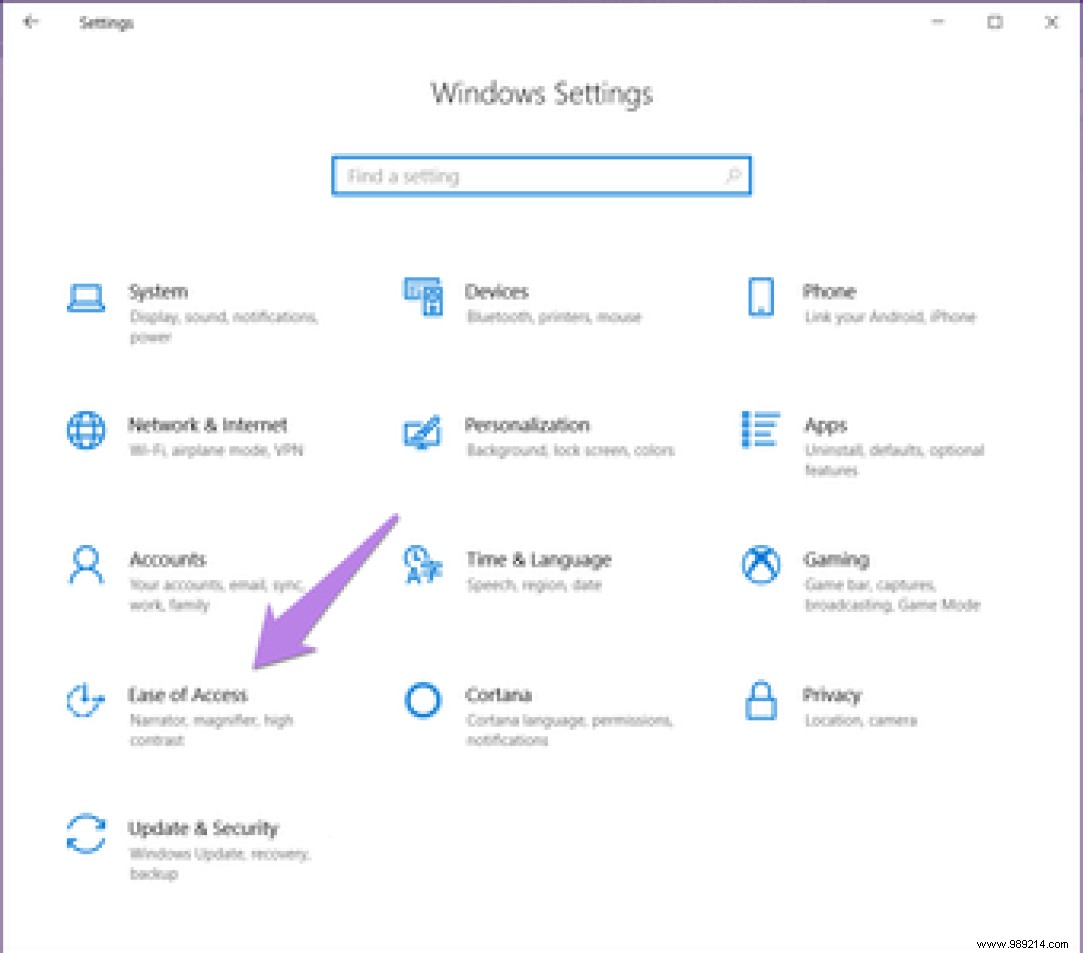
Step 1: Go to Settings on your computer and click on Ease of Access.
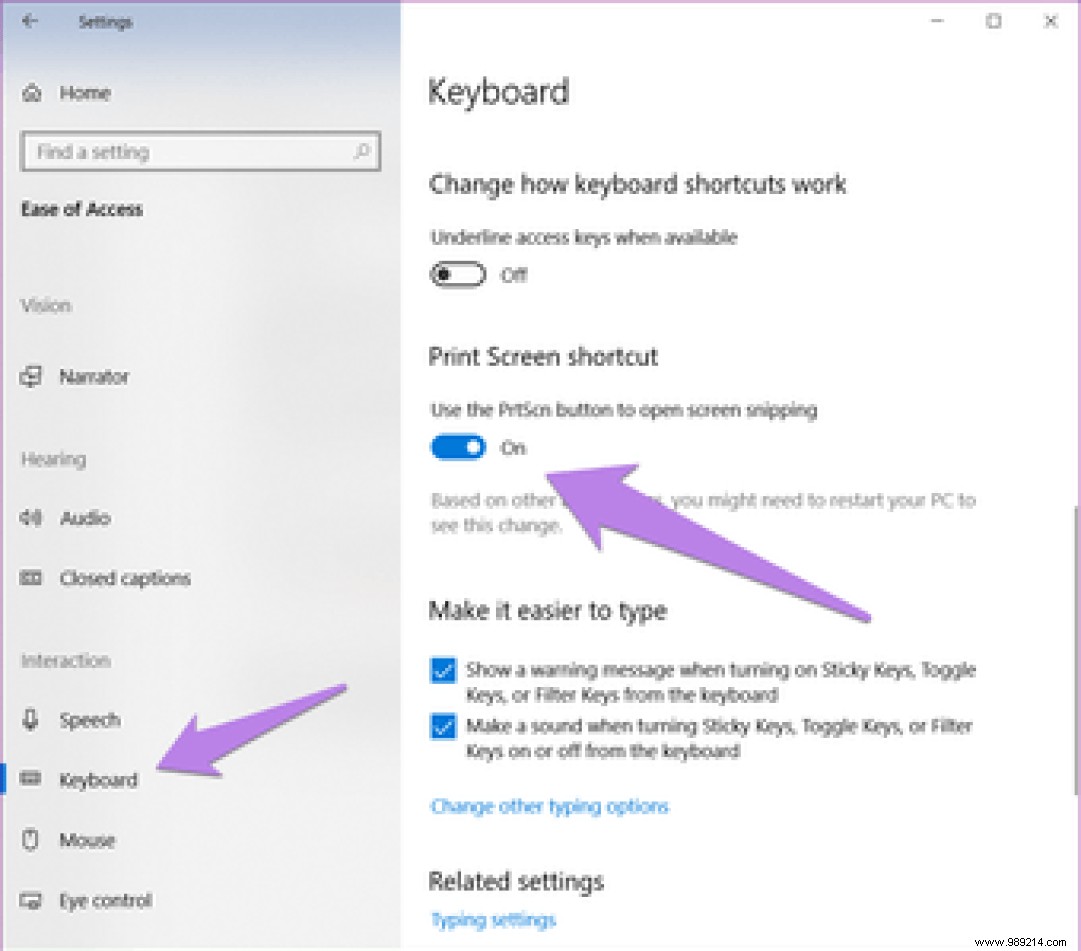
Step 2 :Click Keyboard in the left sidebar. Scroll down and turn the toggle present under the Print Screen shortcut.
When you use the above three methods to launch this tool, the screen brightness will decrease a bit and you will see different screenshot modes.
We don't always want to capture full-screen screenshots. Sometimes we just wish we had a certain square footage. For this, you can use the different modes offered by this application. Currently, the application offers rectangular, free and full screen modes.
To use them, launch the tool using one of the methods mentioned above and click on one of them to activate it.
If you prefer using keyboard shortcuts instead of interacting with a mouse, press the Tab key on your keyboard to navigate between the screenshot modes available at the top. Then press the Enter key to select a mode.
Often when we want to capture context menus, capturing them is not a piece of cake. For situations like these, you can use delay mode.
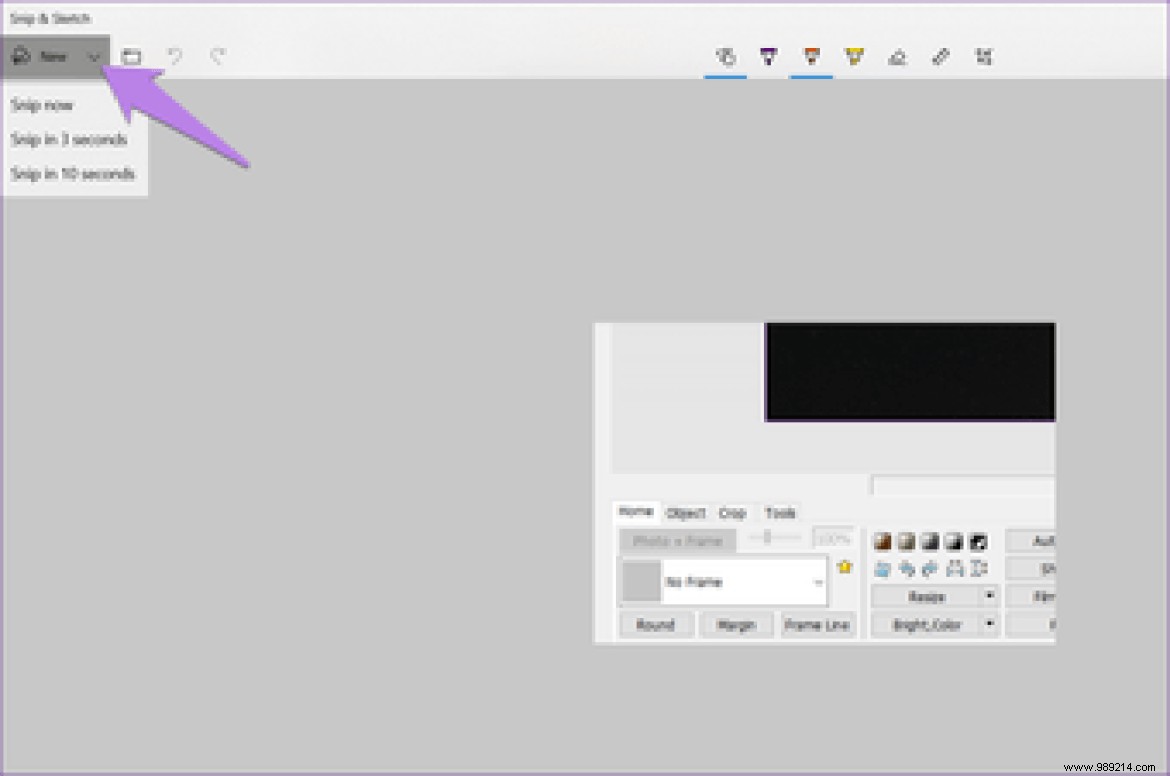
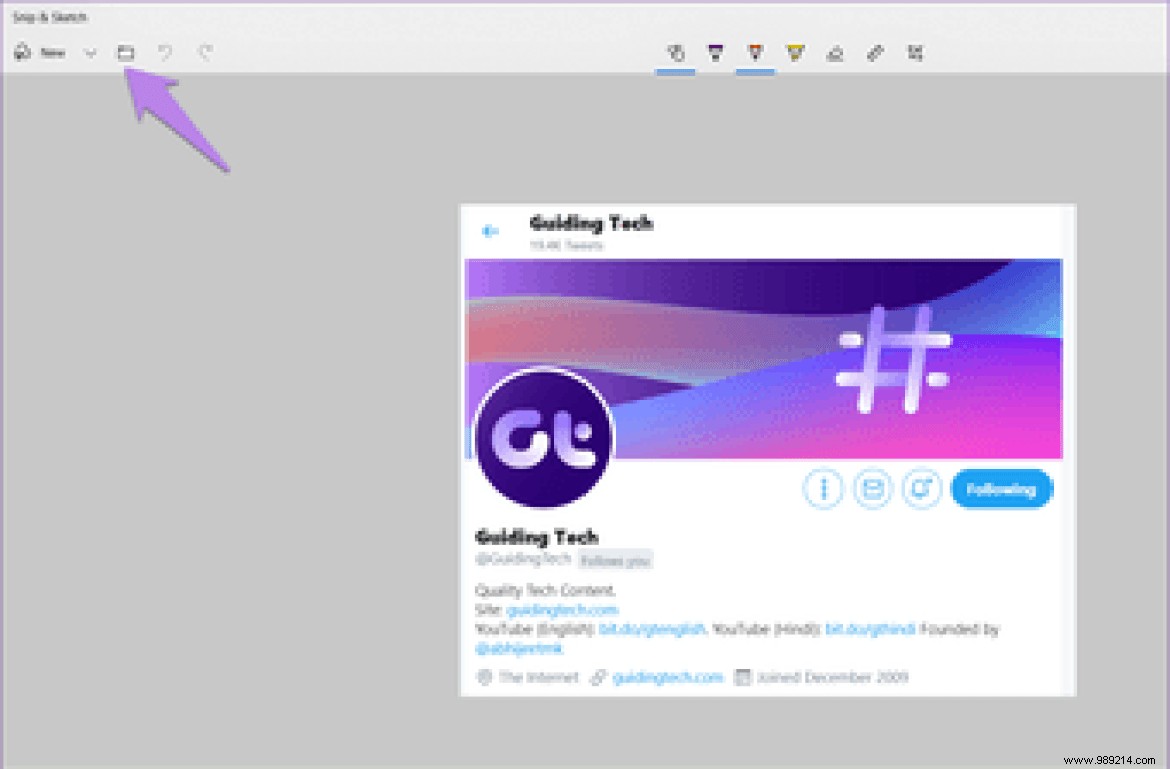
In Snip &Sketch, you need to open the full app to use it. Once the app launches, click the little down arrow next to New and choose the timeout. After the set time, you will be offered the screenshot modes at the top. Select and capture the screenshot. Some apps even allow you to take screenshots automatically at regular intervals.
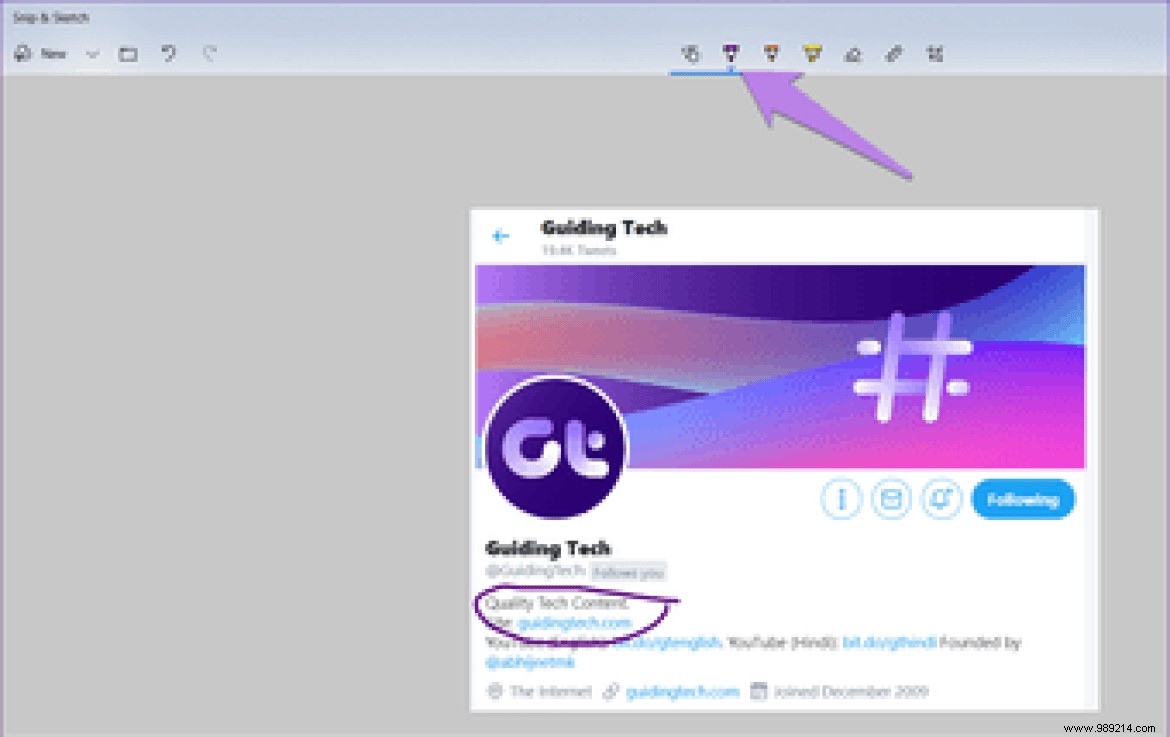
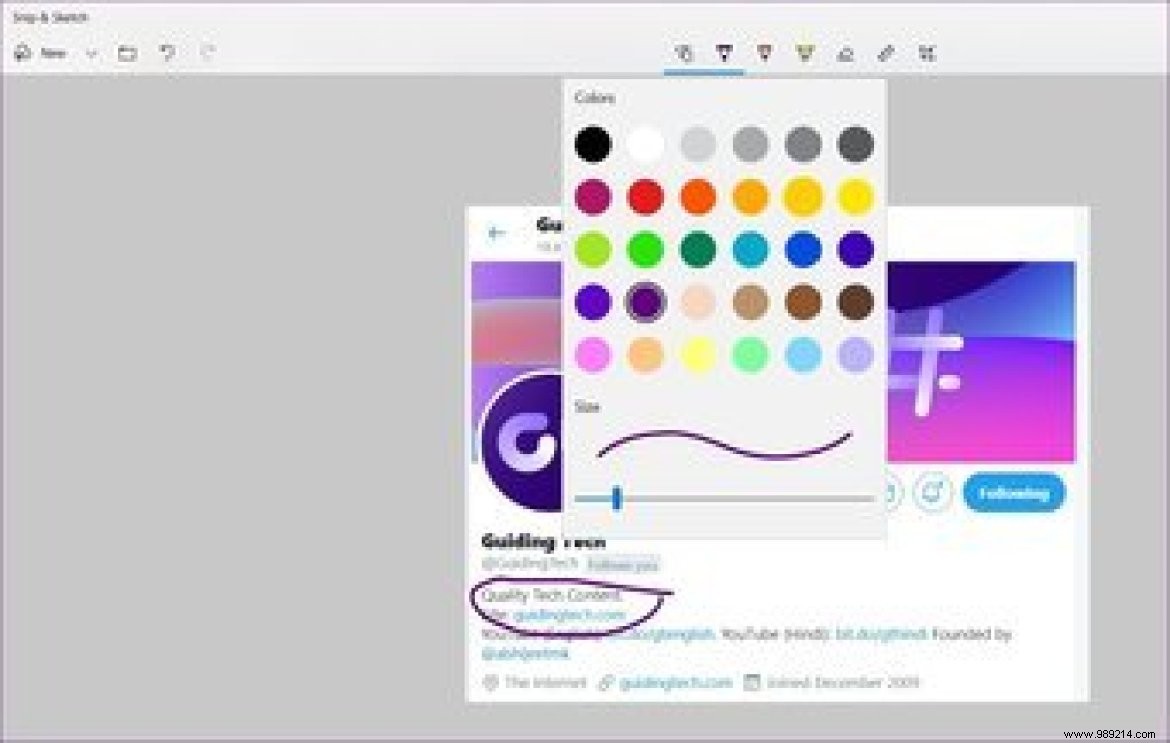
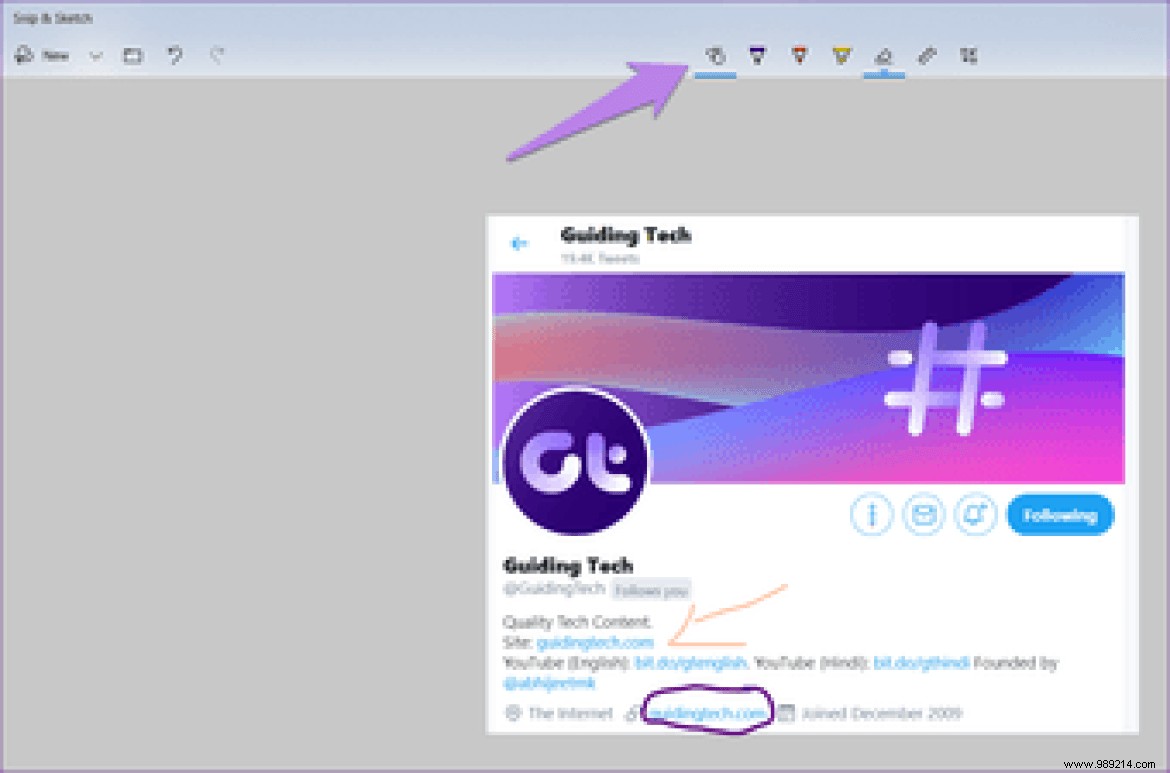
Annotation tools are useless without size and color options. To change the size and color of the various markup tools available in Snip &Sketch, tap on the little down arrow present under the pen. Alternatively, double click on the pen to open the customization options.
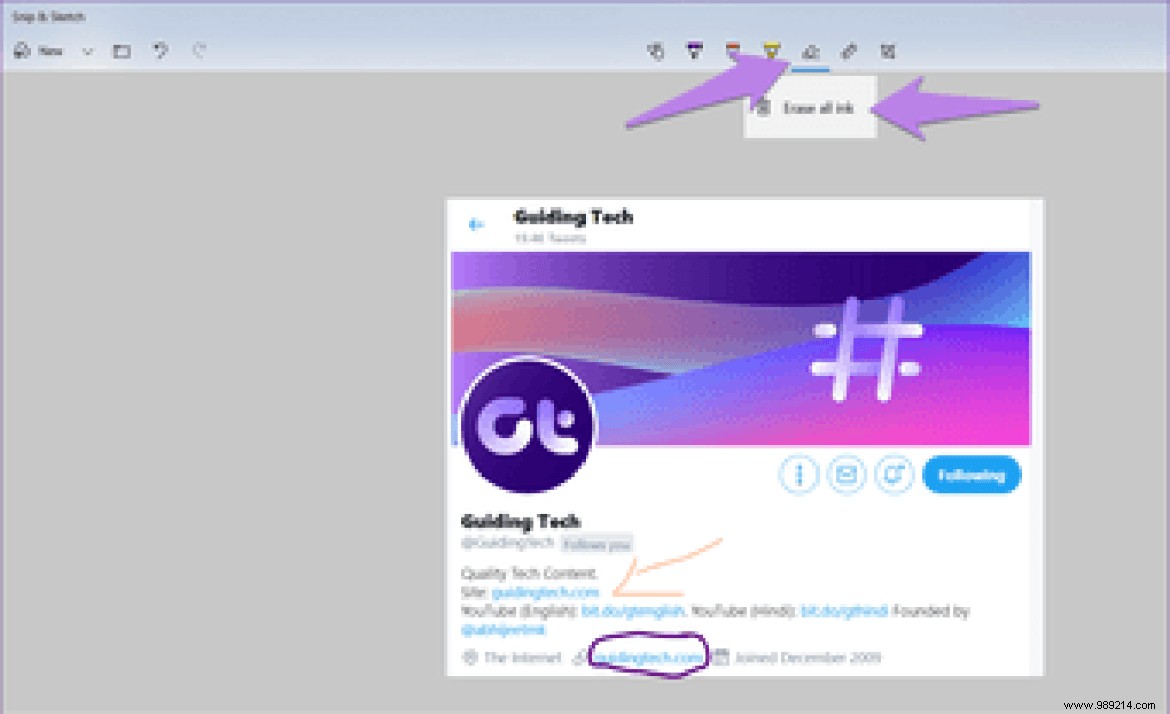
With eraser, you can delete annotations based on strokes. If you have made several markings and want to erase them all, you do not need to erase each stroke individually. Simply double-click the eraser icon and select Erase All Ink.
The downside of using the Snip &Sketch app is that it doesn't open the screenshot directly in the app. You need to click on the notification in the lower right corner to open it in the app or paste it into another image editing app.
Sometimes, however, you may miss the notification. But do not worry. You don't have to take the screenshot again. Just open the Action Center and you will find your screenshot notification there. Click on it to launch it in the application.
Advice :Use Windows Key + A shortcut to open Action Center.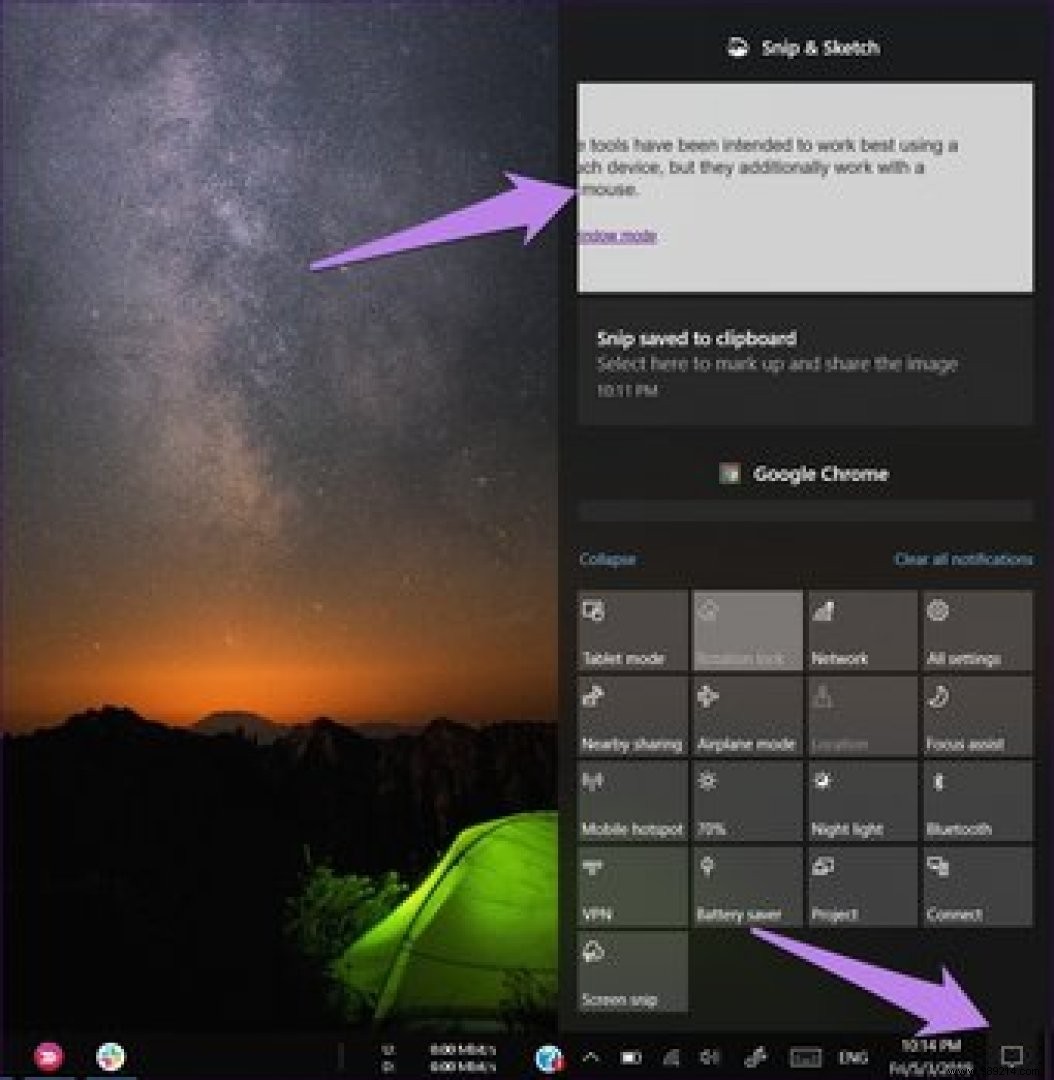
If you own a touchscreen laptop, you'll be happy to know that Snip &Sketch supports touch input. For this, you will have to activate the touch mode in the application. To do this, click on the hand icon at the top. When enabled, you can use your fingers, a digital pen, or a mouse to annotate images.
Although I'm disappointed with Microsoft for not providing proper annotation tools such as arrows, text, shapes, etc., they do offer a ruler and a protractor. These can be used to draw straight lines and circles. You can even use them to measure.
The tools support touch operation and one can use them like a regular ruler or protractor. But if you don't have a touchscreen laptop, that doesn't mean you can't use them.
To rotate the scale or protractor, hold the mouse pointer over it, then use the middle button of your mouse to change its angle. For trackpad users, again, hover the mouse pointer over it, then use two fingers to scroll up and down.
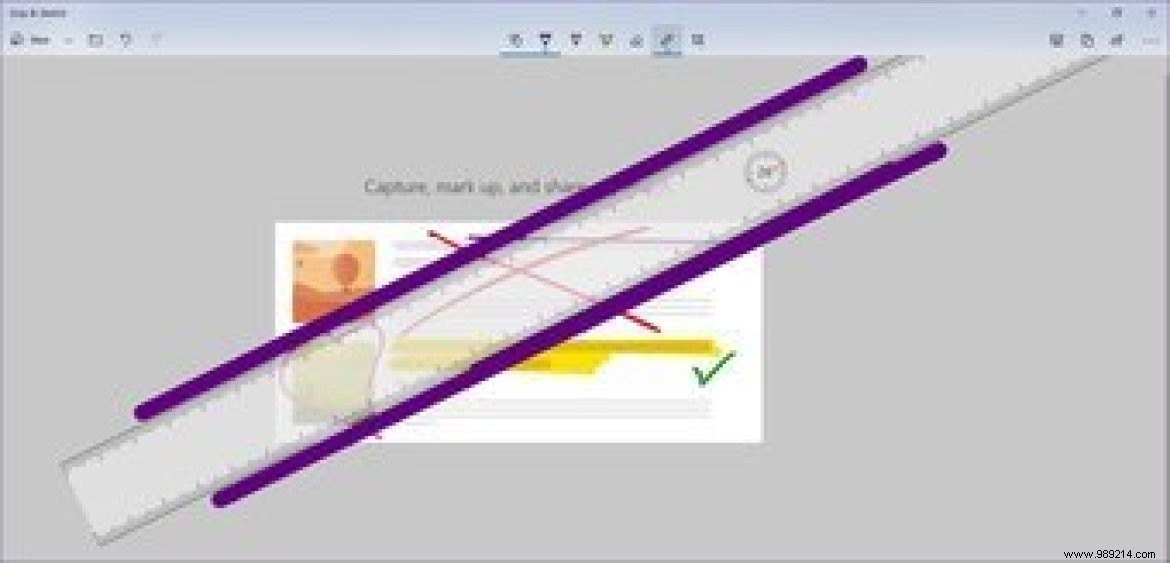
After using both items, if you want to hide them, you will notice that there is no delete button for them. So to remove them from your screenshot, double-click the ruler icon at the top and click the item you added in the menu.

Sometimes when the tool is ready to take a screenshot, you realize that the screenshot is no longer needed. To disable the screenshot action, press the ESC key.
One of the nice things about this app is that you can also annotate old screenshots and images. To open an existing photo, launch the app and click the open icon. Then select the image.
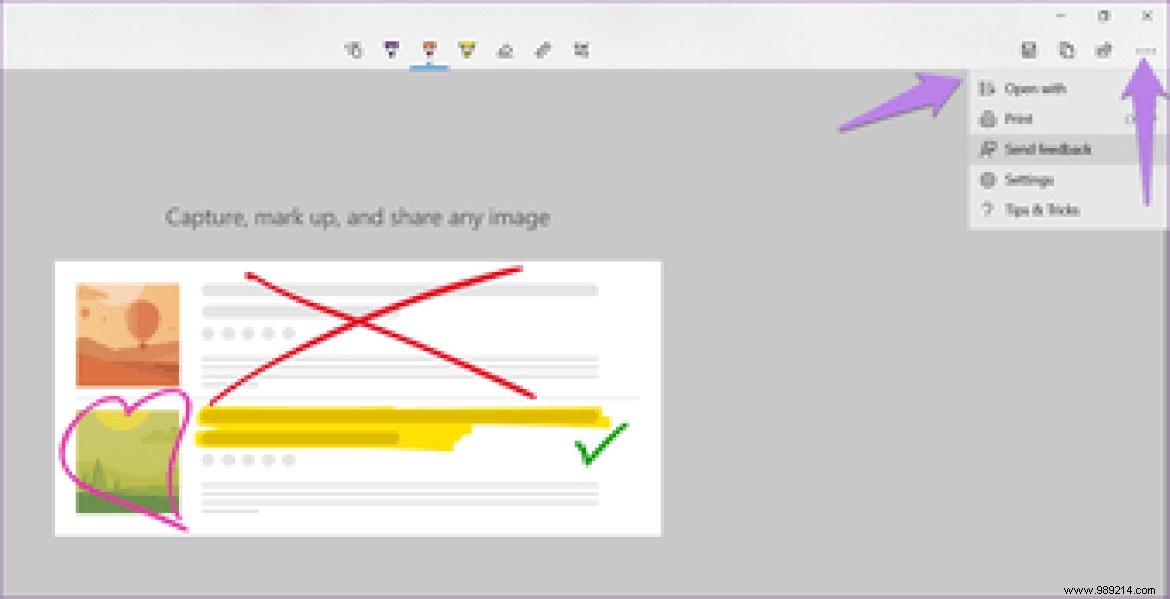
Once you've taken a screenshot and used the native markup tools, if you want to further edit your image, you can directly open it in another app. To do this, click on the three-dot menu in the upper right corner and select Open with. Choose the application in which you want to edit the screenshot.
Keyboard shortcuts make life easier. Luckily, the Snip &Sketch app supports a number of them. These are:
This is how you can get the most out of the new Snip &Sketch app on your Windows 10 PC. Interestingly, the app also supports multi-window mode. That is, you can have many screenshots open in different windows where you can work on them simultaneously.
Do you know any other tricks for the app? Let us know in the comments below.
Then: The Windows 10 photo application seems slow to you? Check its alternatives to open and view photos quickly.