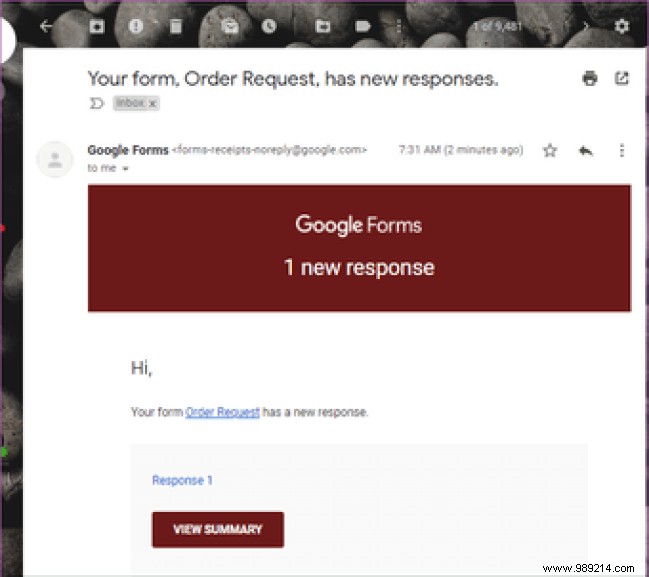
While Google Forms gives users the freedom to customize the content of any type of form, there is limited control over notifications about responses received. By default, Google Forms does not automatically send email notifications for new form responses unless you enable it in the form settings.
SummaryInstalling the add-onSending form responses to your emailCustomizing selection and response templateSave time with add-ons
And when you do, the email notification does not contain the form responses. This means that you will need to visit your Google Forms dashboard to view respondent responses to your form.
Why waste time and internet bandwidth leaving your inbox to the Google Forms dashboard when you can have replies appear in notification mail?
There's a Google Forms add-on that lets you do just that, and everything you need to know to do it in this article below.
Step 1: Open the form whose response you want to see directly in your email. Tap the three-dot menu icon in the top left corner.

Step 2: Select Add-ons.

This opens G Suite Marketplace (an online store for web applications compatible with Google Apps) in a new window.
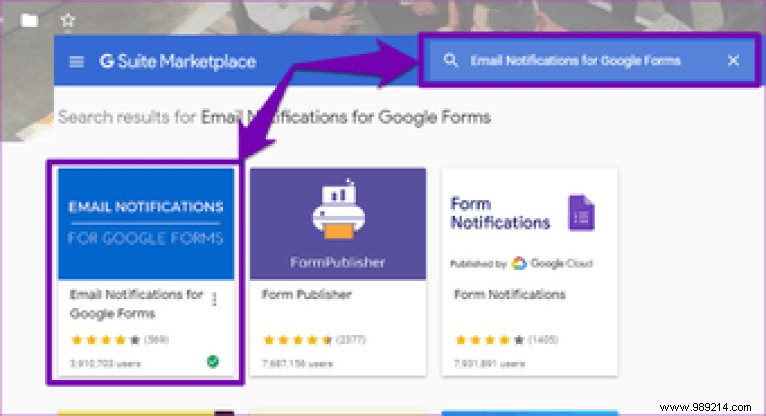
Now we are going to install the add-on that will allow you to get the content of form responses directly to your inbox.
Step 3: Type Email notification for Google Forms in the search box and select the corresponding application on the results page.
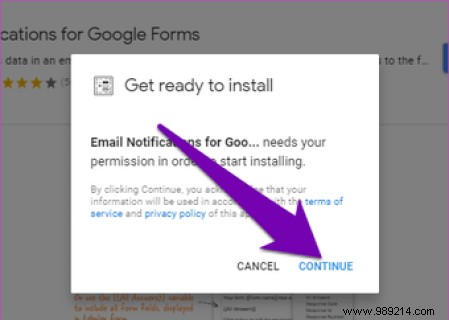
Step 4: Press the Install button.

Step 5: Tap Continue to grant access to the "Email Notification for Google Forms" add-on to your account.
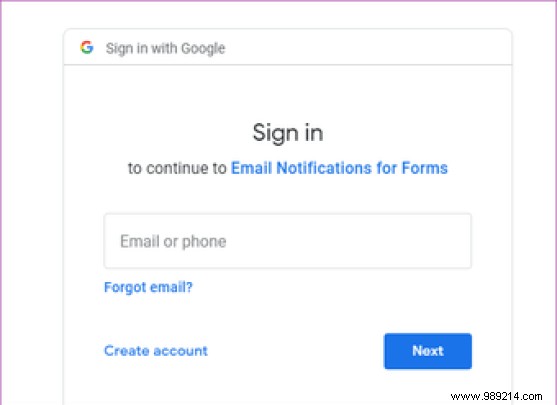
Do this and a new window will appear prompting you to sign in to your Google account.
Step 6: Provide your account credentials and log in.
After successfully logging into your account, the required permissions for the add-on will be listed and the interface will prompt you to allow it to access your account again.
Step 7: Tap Allow to grant the add-on the required permissions.
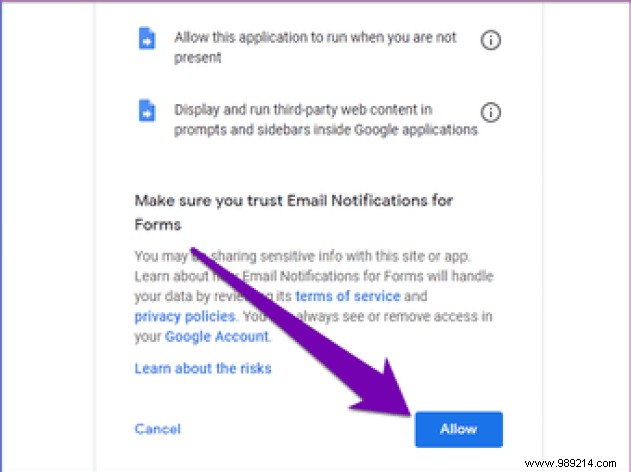
A security alert notification that "Email Notifications for Forms" has the necessary access will be sent to your email.
You can now use the add-on to customize your form response to contain the content of the respondent's responses.
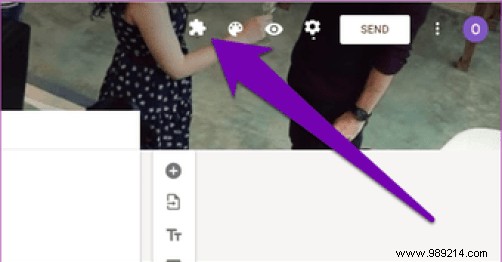
Step 1: When you're done creating or editing your form on the Google Forms dashboard, tap the add-on icon in the top left corner of the page.
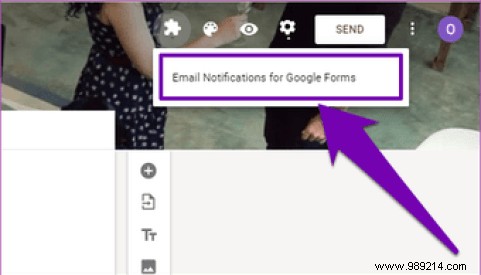
Step 2: Tap the "Email Notifications for Google Forms" option.
Step 3: In the new window that appears, select the option "Create an email notification".
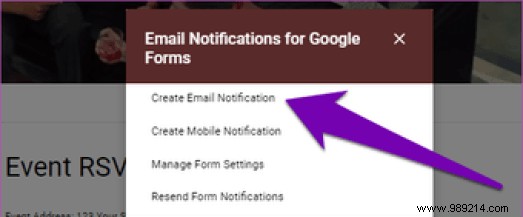
This opens a new section in the lower left corner of the Google Forms page. This is where you would customize the content of the form responses that would be sent to your email.
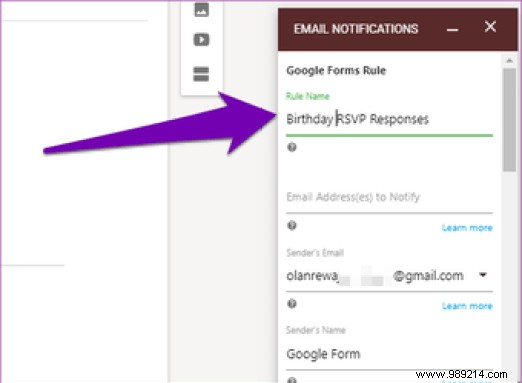
Step 4: Enter a name in the Rule name section. The rule name can be the same as your form title/name. This way, the rule would be easily identifiable if you had to change it later.
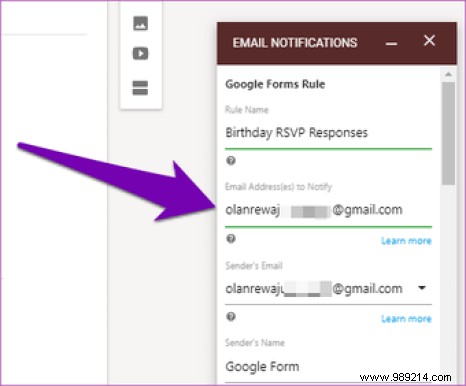
S Step 5: Next, enter the email address you want the form responses sent to. This can be the same email address connected to your Google Form account or a completely different one.
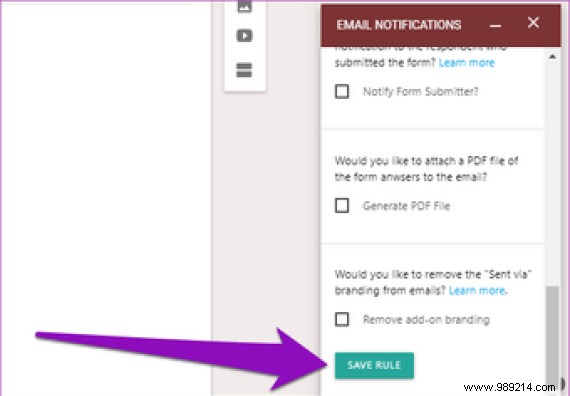
Step 6: Scroll to the bottom of the window and press the Save Rule button to finalize all changes.
And that's all. Whenever there is a new response to your form, you will be notified with the responses/responses from the respondent(s), also appearing directly in the mail.
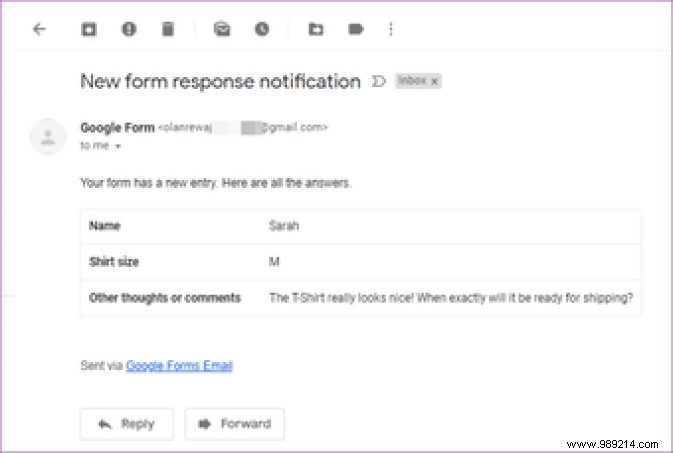
You will no longer have to visit the Google Forms dashboard to view responses to your forms unless you want to.
Another thing I liked about this add-on is that it allows users to customize the template of their form responses.
This means you can choose which question(s) you want the answers to appear in your inbox.
Step 1: Tap the Edit button next to the "Use visual editor" option.
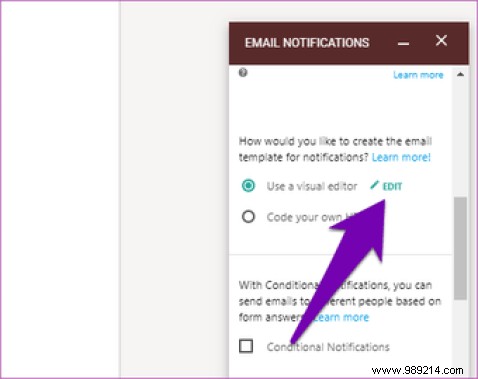
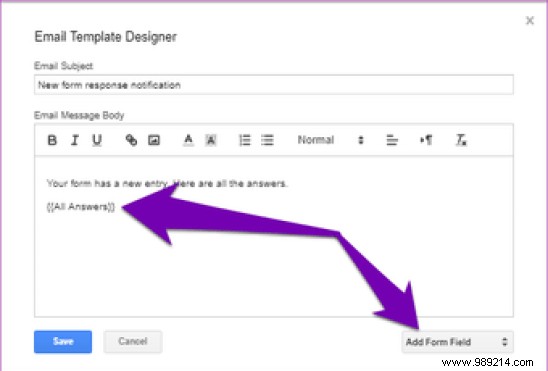
This opens a new "Email Template Designer" window.
Step 2: If you only need to display responses to a particular question, delete the "{{All Responses}}" in the body of the message and press the "Add Form Field" drop-down button.
Step 3: In the "Answer to..." section, select a question you want to see answered in the response email.

You can select several questions one after the other.
Step 4: In the Generic section of the form field, you can also choose to add other optional details such as form URL, response date, response ID, etc.
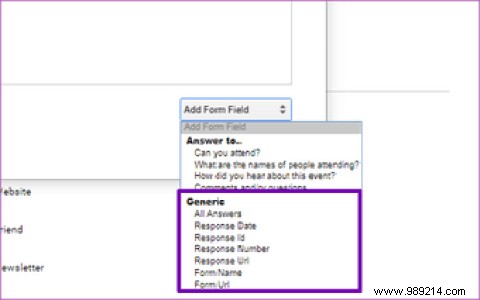
Just tap on one of them to add it to your template.
Step 5: When you are done customizing your form template, press the Save button.

Google Forms add-ons let you get creative with your forms. This email notifications add-on saves your time as it provides all respondent responses in the notification email. Without leaving your inbox, you have all the information you need. It even lets you customize the notification email template. You should definitely give it a try if you are an avid Google Forms user.
Then: Did you know you can collaborate and manage surveys efficiently by automatically sending Google Forms responses to multiple email addresses? Check out the tutorial below on how to do it.