The new Raspberry Pi 4 is significantly more powerful despite sharing the same diminutive form factor of its predecessors. However, with good performance, the power consumption is higher. The Raspberry Pi 4 therefore generates significantly more heat than older Pi models. Without active cooling, the Raspberry Pi 4 will experience thermal throttling even under moderate loads. Fortunately, this can be solved by making or adding a fan to the official Raspberry Pi 4 case.
Note :there are many third-party Raspberry Pi 4 cases with fan in the market. This tutorial is for DIYers who already own the official Raspberry Pi 4 case.
This is a fairly simple mod that doesn't require any expensive tools that you won't already find in an average household. Some optional extras have been listed and marked accordingly. These aren't absolutely essential, but they're nice to have. The extras may cost a bit more, but they'll make your job easier while improving the aesthetics as well as the performance of your Raspberry Pi 4.
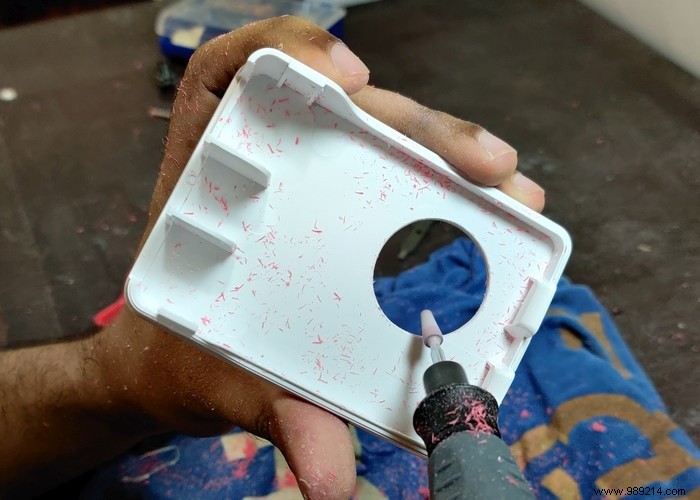
Our first task is to drill a fan hole just above the CPU.
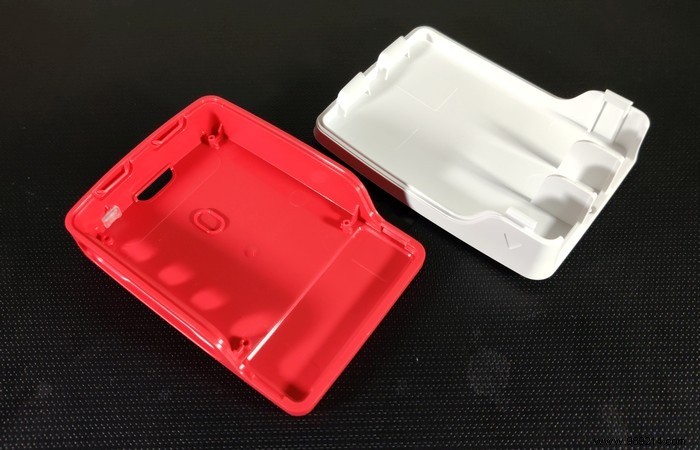
1. Familiarize yourself with the case by inserting the Pi 4 inside the case. Determine the general area where the opening for cooling can be drilled in the top (white) half of the case. Be very careful to stay away from the GPIO pins or else the case won't close with the fan installed. The illustration below can be used as a general guideline, but it's best to measure twice and cut once.

2. This is where you need to decide on the dimensions of the fan. You can choose between a 30mm or 40mm fan. A larger 40mm fan pushes more air at a lower speed, making it quieter and more efficient. The smaller 30mm alternative spins faster and is noisier, but is more compatible with other high-end aluminum Raspberry Pi cases. This is something to consider for future upgrades.
The depth of the fan can vary between 6mm and 20mm for the scope of this mod. The blades of a thinner fan have a relatively smaller surface area compared to the thicker alternative, which reduces cooling performance. A thicker fan can also house a more powerful motor. Just make sure to avoid using a heatsink (not recommended) or install one with a low enough profile to accommodate the thicker fan.
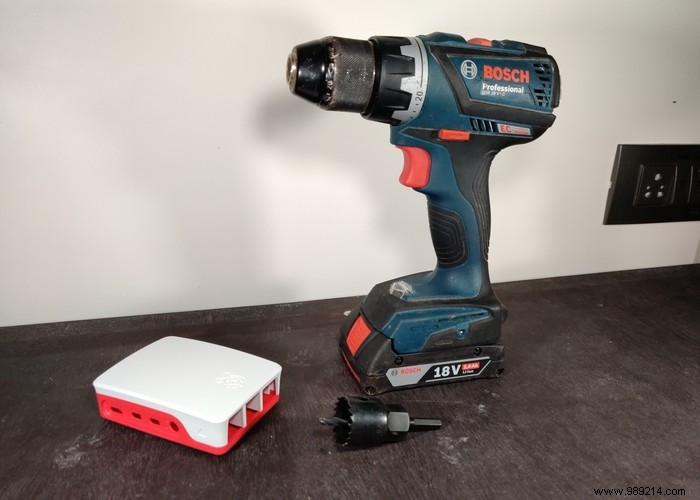
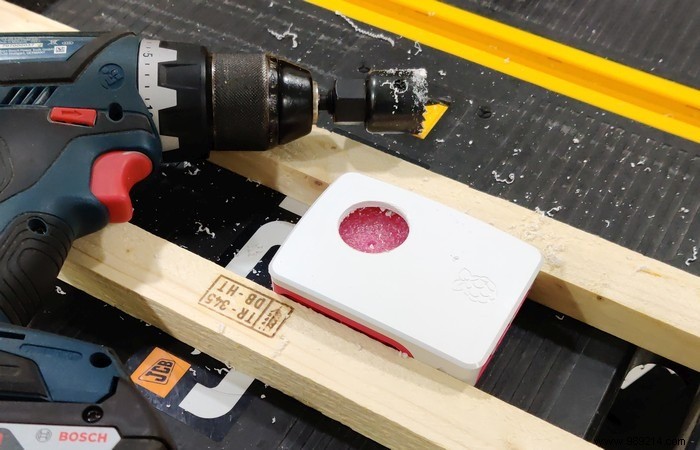
3. A hole saw set is the cleanest way to make the fan hole. You will need the 1-1/4 inch drill to make an opening for the 30mm fan or the 1 1/2 inch drill for the 40mm fan. If you don't have access to the right size hole saw attachment, you can drill several holes using a large brad point drill bit to achieve a similar effect. However, this won't allow nearly the same airflow as a properly cut fan-sized hole using the hole saw.
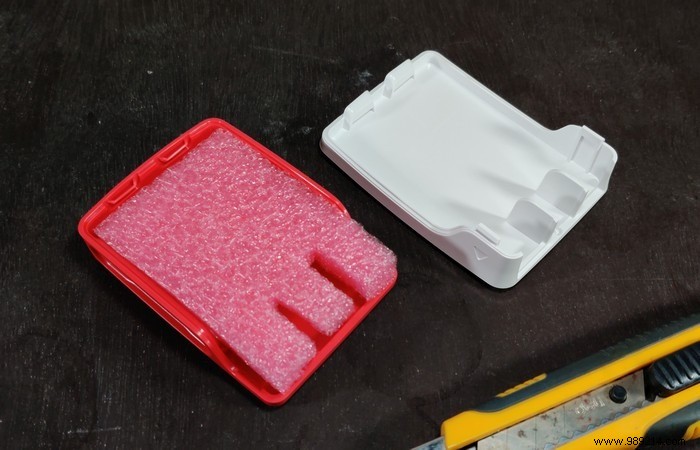
4. Cut a piece of cardboard or foam to fit inside the case as shown below. This will prevent you from inadvertently drilling a hole in the bottom half of the chassis (red) after drilling the top half. It is not possible to drill the fan opening with the bottom half of the case removed, as this makes it difficult to secure the case while drilling.
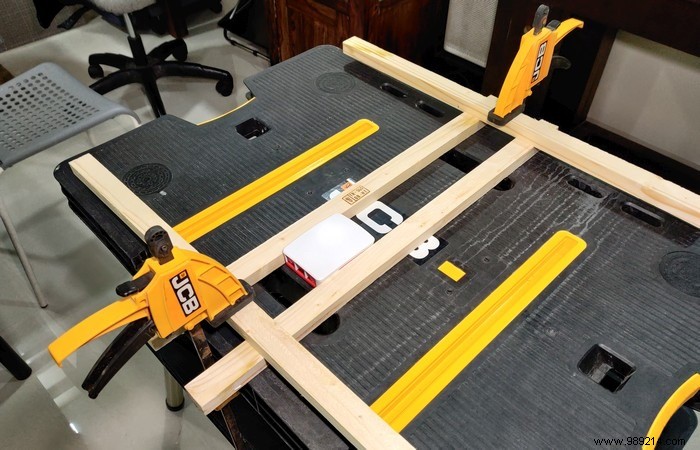
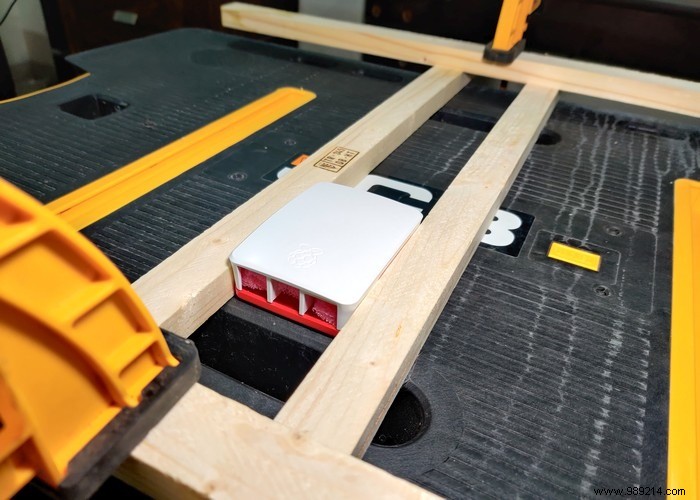
5. You can secure the case using anything from tape to a vise. It is absolutely essential that you do not use your hands to hold the case steady or leave it unsecured. The torque generated can cause the drill or housing to slip and cause serious injury. In the images below, you can see my improvised method of securing the case tightly with wood and clamps.
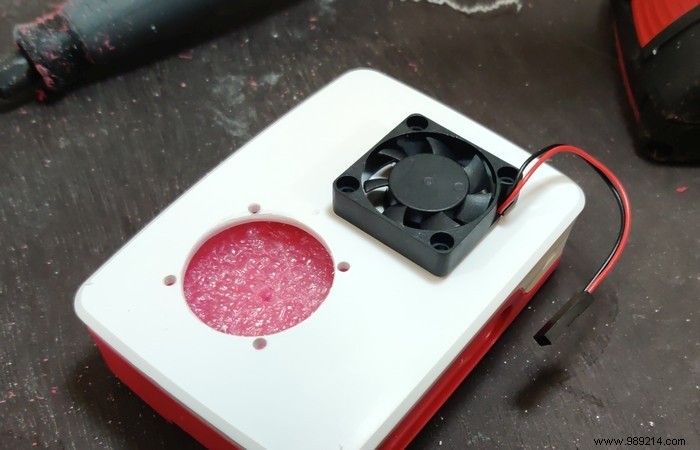
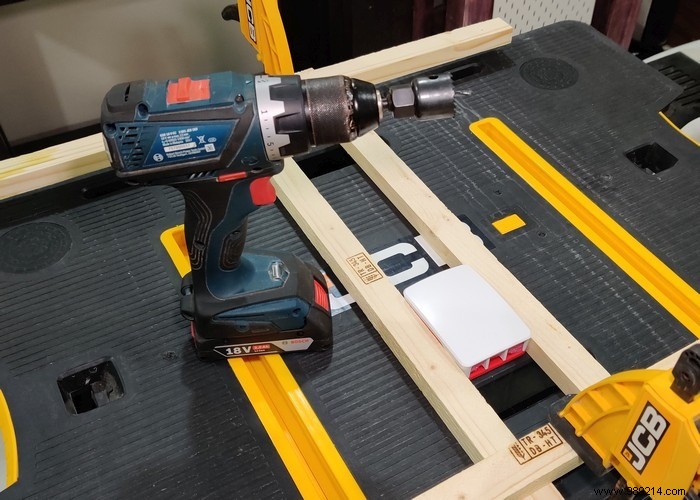
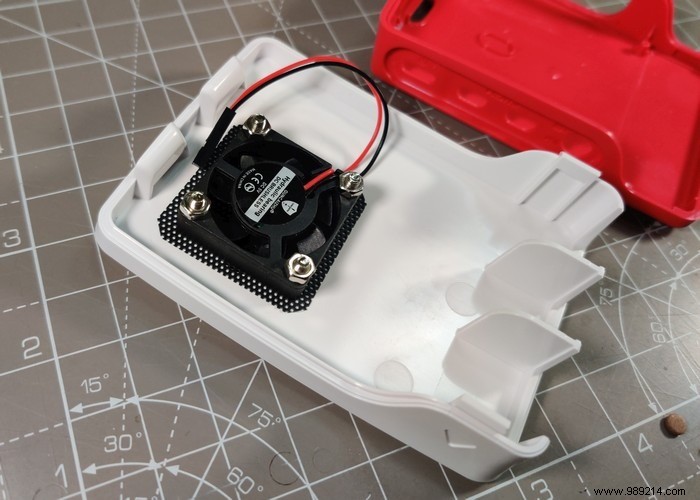
6. Most modern drills have a variable speed setting and an analog trigger. Use them to keep the drill from spinning at high speed. Start the hole saw slowly and squeeze the trigger gently until the bit bites into the housing. Once the bit is through, make sure the previous hole saw bites gently into the casing and does so straight. Do not drill too fast or the excessive heat generated will warp the casing. Use the fan as a template to mark and then drill four holes. These mounting holes will be used to secure the fan to the case.
7. We need to create an additional opening on the long side of the case, just in front of the audio/video and power ports. This opening will increase cooling efficiency by ensuring good airflow through the otherwise airtight case. Be sure to keep the length of the opening less than the distance between the pair of adjacent mounting points inside.
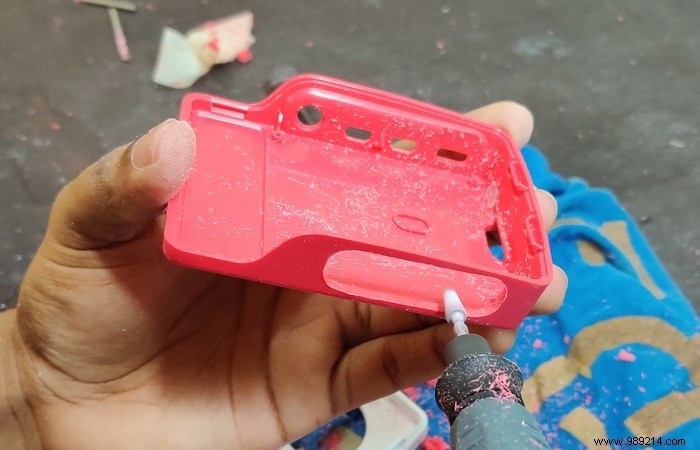
You can do this either with a rotary tool such as a Dremel or by drilling a series of holes using a large brad point drill bit. Use 320 grit sandpaper to clean the openings. You can skip this step if you don't want to go through the effort of smoothing the edges. Clean both halves of the case.
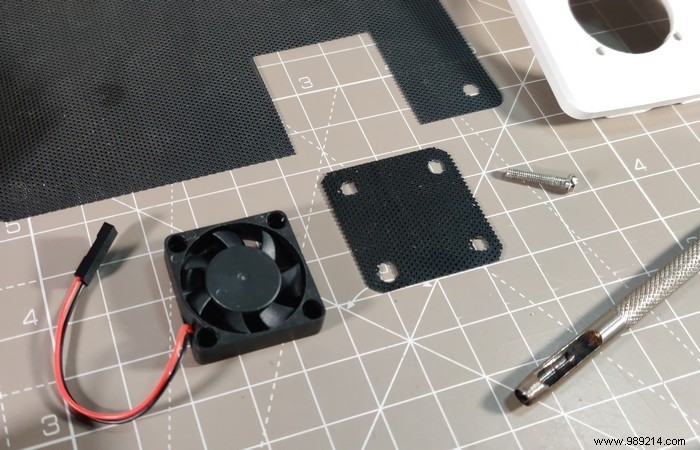
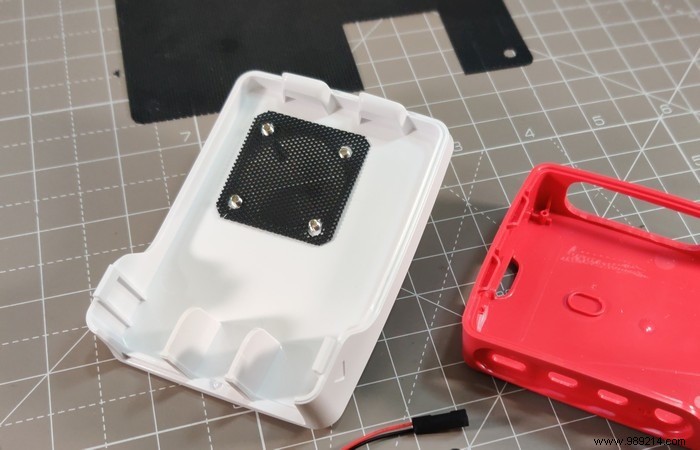
8. (Optional) It is recommended to protect the Raspberry Pi 4 from dust ingress. Cut a fan-sized sheet from the PVC dust filter mesh. Use an appropriately sized hole punch to drill the fan mounting holes. Use the included mounting hardware (nuts and bolts) to secure the fan to the top half of the case, with the dust filter sandwiched in between.
9. Repeat the procedure for the other opening along the side of the chassis adjacent to the GPIO pins. It is best to use a thin double-sided tape to stick the dust filter mesh to the case.

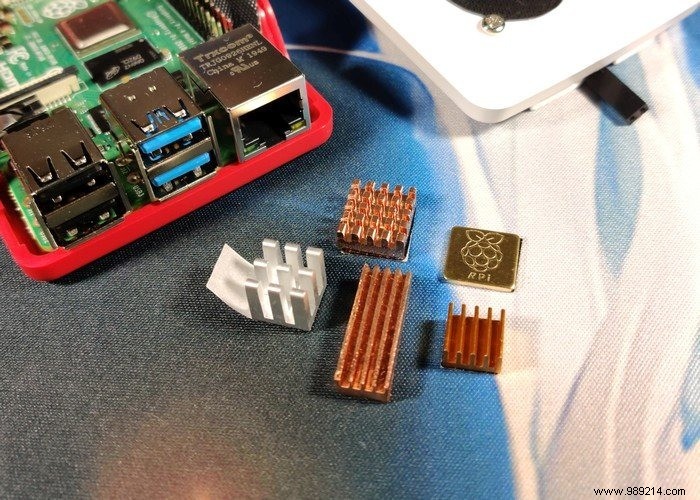
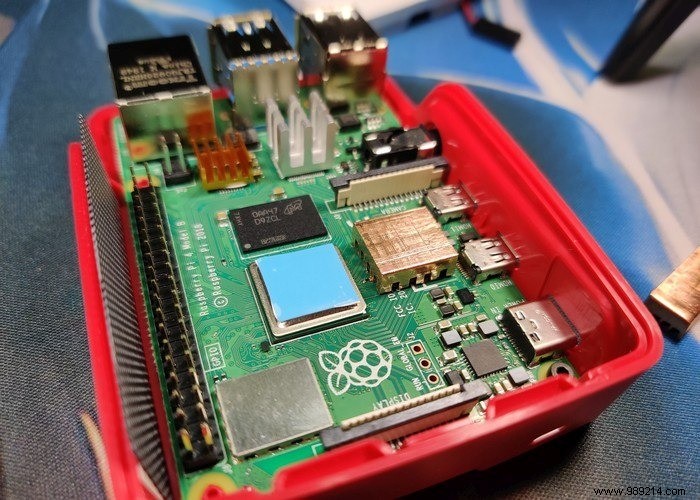
10. We can now install the Raspberry Pi 4 into the bottom half of the case. Next comes the optional installation of the heatsink. Installing copper heatsinks on critical components not only improves cooling performance, but the added thermal mass also allows for more sustained overclocks. What's the point of going to so much trouble if you're not going to overclock it?
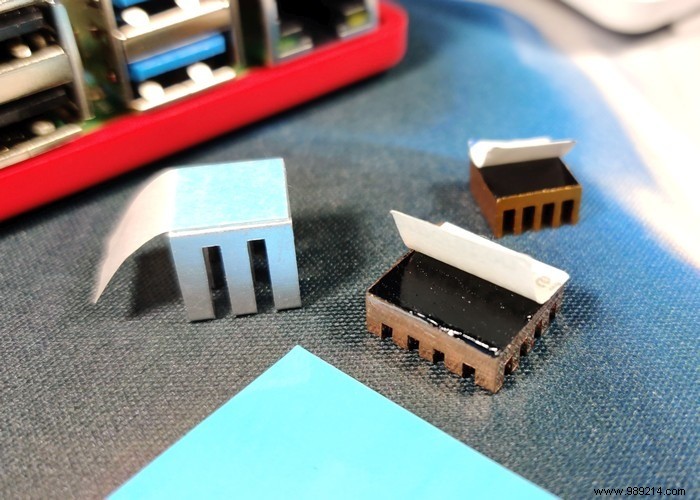
Most heatsinks come pre-installed with 3M fabric tape for mounting. You can identify it by its jet black finish when you remove the protective label (image below). Do not install heatsinks bearing this black fabric tape. Ironically enough, the black tape is an insulator that will negatively affect cooling performance. Thoroughly clean the fabric strip with isopropyl alcohol and use Arctic Thermal Adhesive Pads or 3M 8810 instead. The Raspberry Pi 4 Copper Heatsink Kit included in the item checklist earlier comes pre-installed with 3M 8810 thermal adhesive pads.
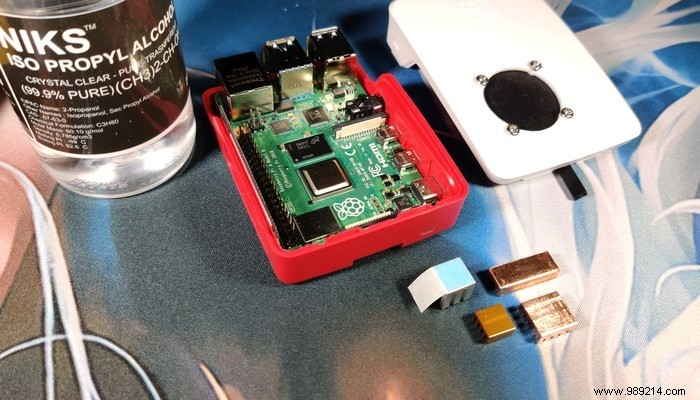

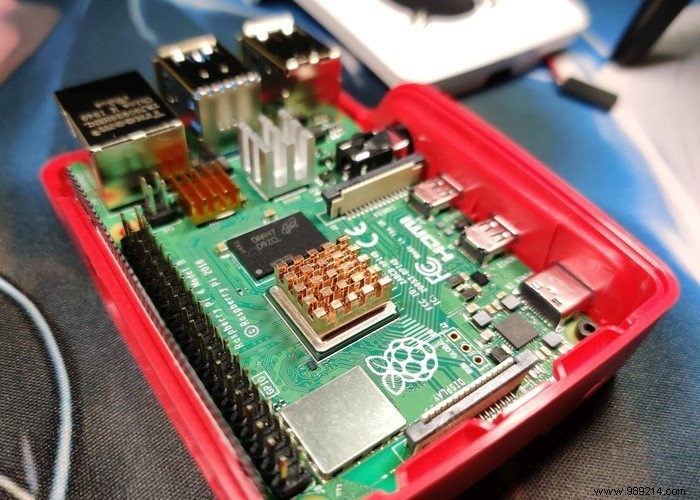
11. Install the heatsinks on the dies for the processor, RAM, and network as well as the USB controllers. Apply moderate pressure to the heatsinks for 15-20 seconds to achieve good wetting and adhesion of the thermal pads. Connect the two-pin fan cable to the GPIO pins (red:5V and black:ground) as shown in the pinout diagram above while paying attention to polarity. (Red is positive and black is negative.)

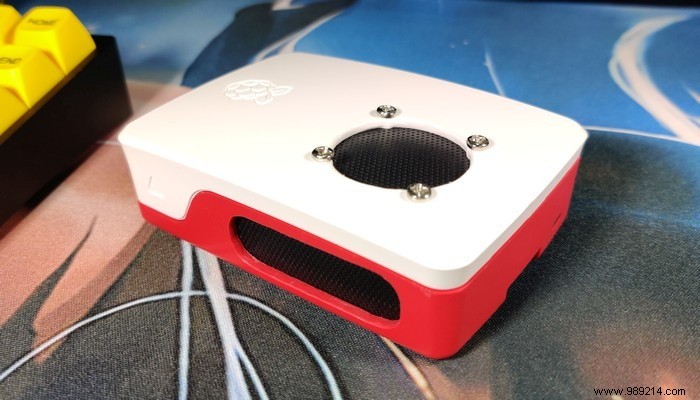
Turn on your Raspberry Pi 4 Model B, and you will notice that the video playback is smoother. The processor won't overheat or slow down during demanding applications, improving real-world performance. At stock settings, my Raspberry Pi 4 remained stable below 50°C, even under moderate loads. With the active cooling setup in place, I even managed to overclock my Pi 4 to an impressive 2GHz.