Want to turn your Raspberry Pi into a music server where you can play any track, from any device on your network, as well as content from popular music streaming websites? Below you'll learn how to turn your Raspberry Pi into a high-quality home music system, using Volumio.
SummaryWhat you will needInstall Volumio on the Raspberry PiStart your Raspberry PiConnect to Volumio's temporary Wi-Fi hotspotStream millions of songs through your Volumio1 server. Transfer files wirelessly2. Remotely access a network device3. Use the Spotify PluginOnce Volumio is configured on your Raspberry Pi, you will be able to stream all major music formats including FLAC, WAV, MP3, AAC, ALAC and PLS. And, just to make sure you have a wealth of music at your fingertips, we'll also show you how to stream music from Spotify.
To complete this tutorial, we'll turn our Raspberry Pi into a headless music server connected to the network via Ethernet, which means we won't need many of the peripherals typically associated with Raspberry Pi projects.
To create your headless music server you will need:
Once you've assembled your tools, you're ready to turn your Raspberry Pi into a home entertainment system.
The first step is to download Volumio and flash it to your Raspberry Pi.
This tutorial flashes the system image using Etcher, as it is free and cross-platform. If you don't have Etcher installed yet, go to the balenaEtcher site and download the latest version.
Etcher will now flash the system image to your SD card.
You are now ready to start your Raspberry Pi:
The device should now start automatically. Please note that the first start of Volumio may take a few minutes.
As part of the setup process, Volumio generates a temporary Wi-Fi hotspot to configure the Volumio software. On your laptop or computer, open network settings and select "Volumio" Wi-Fi hotspot.
As soon as you are connected to this temporary hotspot, a pop-up window should appear prompting you to configure Volumio.
If this popup does not appear, navigate to http://volumio.local/wizard to manually launch the Volumio installation wizard.
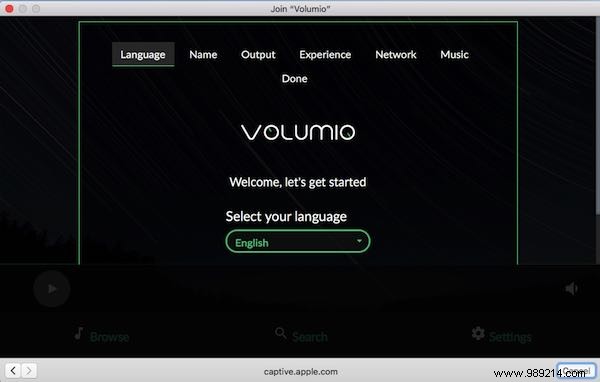
You are now ready to configure your headless music server:
1. Choose your language and click "Next".
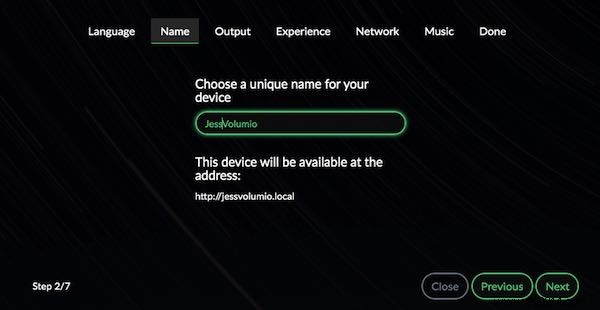
2. Give your device a unique name and click "Next".
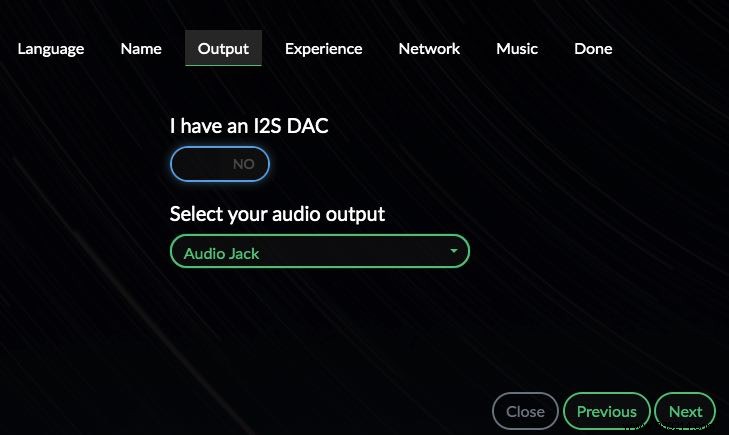
3. You can now configure your audio output, which will vary depending on the audio equipment you have connected to your Raspberry Pi.
4. Specify whether you need access to Volumio's full set of configuration options or a more streamlined set of options. You can change these settings in Volumio's System menu at any time, so to help you get Volumio running as quickly as possible, you can opt for a simplified menu.

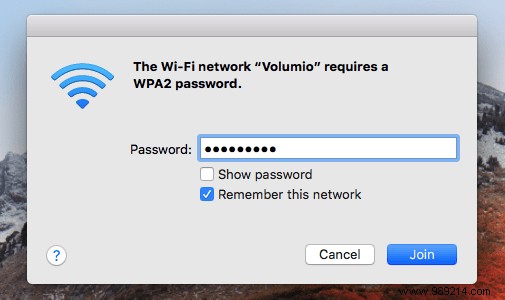
5. Volumio's Wi-Fi hotspot is only temporary, that's why Volumio will now request access to your home network. Select your network from the list and enter your password when prompted.
You will be disconnected from the Wi-Fi hotspot when Volumio connects to your home Wi-Fi network.
You should now have access to the Volumio console.
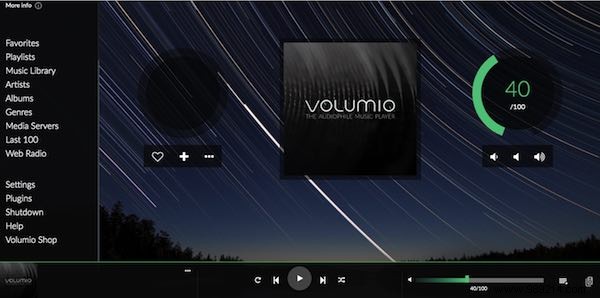
There are different ways to stream music through Volumio.
After Volumio has been online for a few minutes, other devices on your network should automatically recognize it as network storage. You can log in to Volumio from any other internet-connected device using password "volumio2" and username "volumio".
Once connected to Volumio, you can transfer music wirelessly by drag and drop, then access and play those files through Volumio.
You can stream music from any network player connected to your home network:
Volumio will now scan your network and display a list of available network drives. Find the device that has your music, connect remotely, and you're ready to start streaming music!
With over 217 million active users, Spotify is one of the most popular music streaming services in the world. You can access the entire Spotify catalog through your Volumio server:
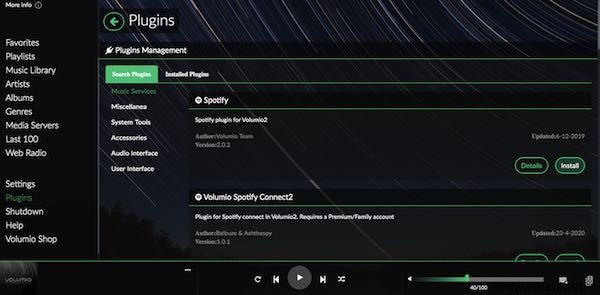
1. From the Volumio menu on the left, select "Plugins".
2. Select "Music Services".
3. Find the "Spotify" plugin and click the "Install" button that comes with it.
4. When prompted, select "Enable Plugin".
5. After Spotify is successfully installed, click on the "Installed Plugins" tab.
6. Find "Spotify" and slide the accompanying slider into the "On" position.
7. Click the "Settings" button.
8. Enter your Spotify username and password, then click "Login".
9. If you have a free Spotify account, it is recommended to disable "High Quality" audio.
10. Click the "Save" button.
Volumio should now connect to Spotify and you'll have access to Spotify's massive and growing music collection.
If you only use Spotify to listen to music, you may want to install Spotify Connect on your Raspberry Pi instead.