If you even know a little about the technology, you've probably heard of overclocking. But even those who spend their time tweaking their computer might not know how easy it is to overclock your monitor. It goes beyond resolution adjustments:you can actually increase your monitor's refresh rate without spending a dime. it won't work for every monitor, as it depends on your specific panel, whether you can overclock and how much will be entirely variable.
Fortunately, finding out what's possible with your monitor is incredibly simple, and it can be done from NVIDIA's Control Panel with just a few clicks. Read on to find out what you need to know to see if you can squeeze a few extra Hz out of your monitor with NVIDIA's Control Panel!
Note :The NVIDIA Control Panel is only available if you are using an NVIDIA graphics card. If it is not installed, you can get it from the App Store.
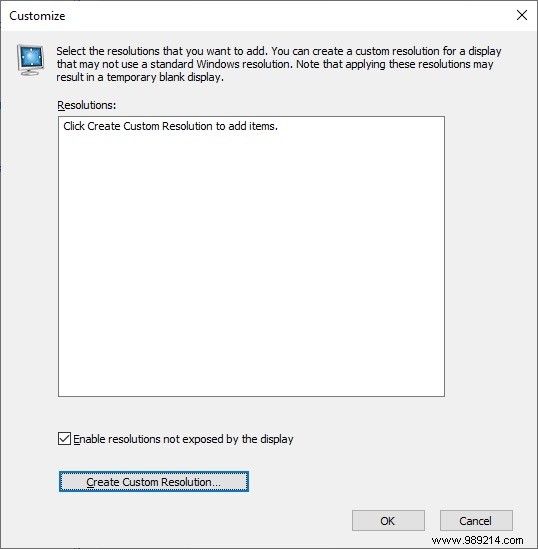
First, open the NVIDIA Control Panel and click on “Change Resolution” under the Display section on the left side of the window. Make sure the monitor you want to overclock is selected. If you don't have multiple monitors, don't worry about this because your one and only monitor will already be selected.
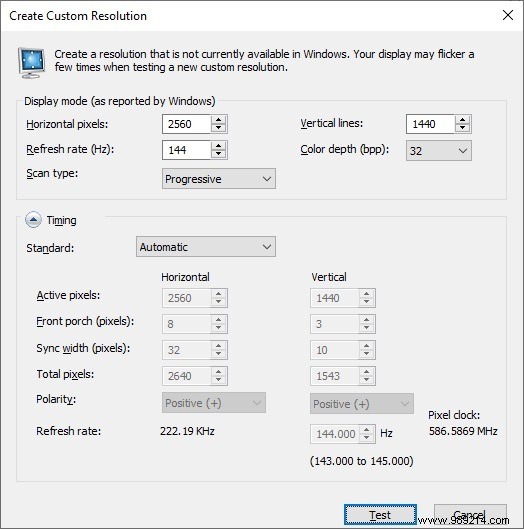
In the Create Custom Resolution window, find the value next to “Refresh Rate (Hz):” and click the up arrow next to it to increase the number by one. Click on the “Test” button. If your screen goes black and your monitor complains of not receiving a signal, don't panic. Wait a few moments and your desktop will reappear. This means that your monitor failed the test and was unable to run at a higher refresh rate. If your screen does not go black but you experience strange visual artifacts, this is also a sign that you failed the test.
However, even if you failed your first test, all hope is not lost. As for testing, you'll get a better shot by trying higher frame rates at lower resolutions. For example, if you have a 144Hz 1440p monitor, trying to run at 145Hz 1080p may work while 145Hz 1440p does not. There are no guarantees, of course. It also goes without saying that if you fail a test at one hertz above your refresh rate, you won't be able to pass tests at even higher refresh rates.
However, if you manage to pass the test, close the “Test passed” prompt window and click the “OK” button in the Customize window, which takes you back to the “Change resolution” area of the Control Panel where you started. You can now select the custom resolution you created and click on the “Apply” button at the bottom right of the screen. Congratulations! You have overclocked your monitor!
If you don't know what you're doing, it's best to leave the other fields in the "Create Custom Resolution" window alone, like scan type, timing, and color depth. Focus your adjustments on refresh rate and resolution.
Are you planning to see if your monitor can be overclocked? Let us know in the comments below!